Home Blog Page 180

The Mili Pure Moisture Meter Can Help You Solve Your Dry Skin Issues

Beauty truth: Dry skin is the worst. What can make the flaky, red, glow-sapping problem even worse, is that it’s not always easy to tell what’s causing it? Is the fix as simple as reaching for your moisturizer, or do you have a deeper dehydration issue? This new tech-enabled tool can help you figure it out.
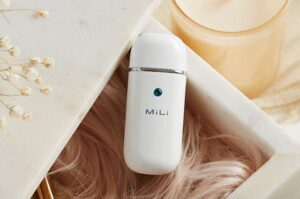
“Skin dryness and dehydration are often used interchangeably. They can coexist but mean two different things,” Sejal Shah, a dermatologist in New York City tells Allure. “Dry skin typically refers to a lack of oil or lipids, whereas dehydrated skin is due to lack of water.” In other words, if you haven’t been getting your eight glasses of water a day, your skin might be chronically suffering. In addition to dehydration in your body, skin dehydration can be caused by environmental issues like harsh skincare products, too much sun, dry climates, or even a hot shower, says Shah.

About the Product

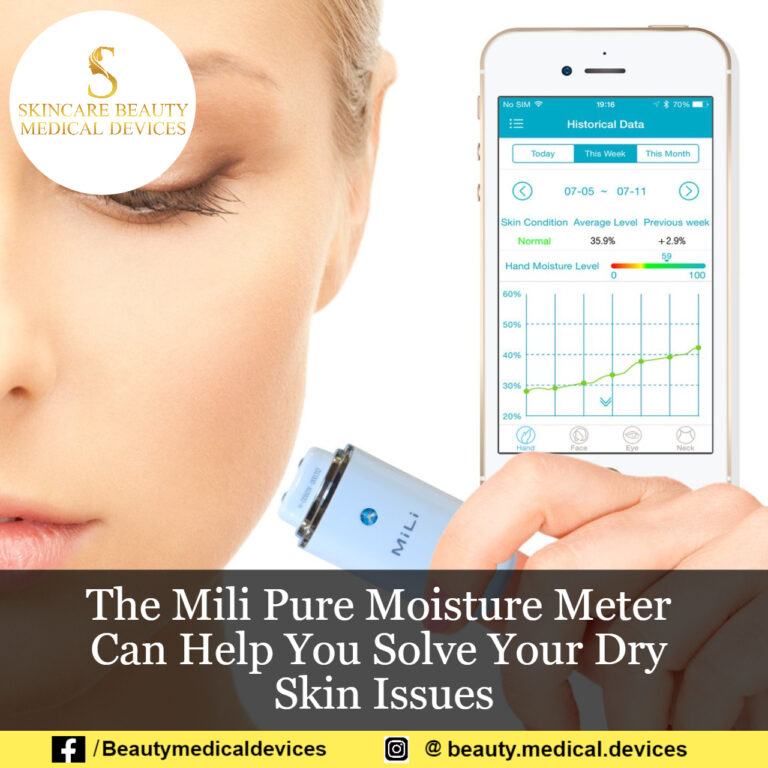
That’s where the MiLi Pure moisture meter comes in. Here’s how it works: The palm-sized skin meter tests your skin’s hydration levels via two teeny metal probes pressed against the skin for five seconds that read the hydration levels in your skin (you can test on lids, face, and hands). Then the data syncs to an app that shows you how hydrated — or not — your skin is.
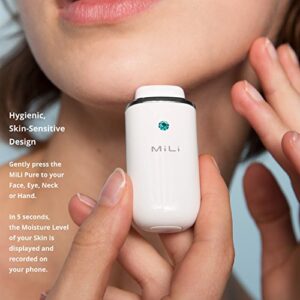
Based on your gender, age, and skin type, the app can show you where you fall on the hydration spectrum compared to others like you and even recommend super-specific tips for upping your hydration levels if you’re in need. The coolest part? You can test your skin throughout the day to see how different moisturizers measure up on your skin and track your progress over time to get a handle on overall hydration levels. The game-changing beauty tool just partnered with H2O+ Beauty so you can even test the immediate effects of their ultra-hydrating Oasis products on parched skin.

Read the Complete Article at allure.com

To know more about Skincare Devices and Beauty’s latest updates, please Like and Follow our Facebook and Instagram accounts…

Also read: The Best Moisturizers for Men, According to Skin Type
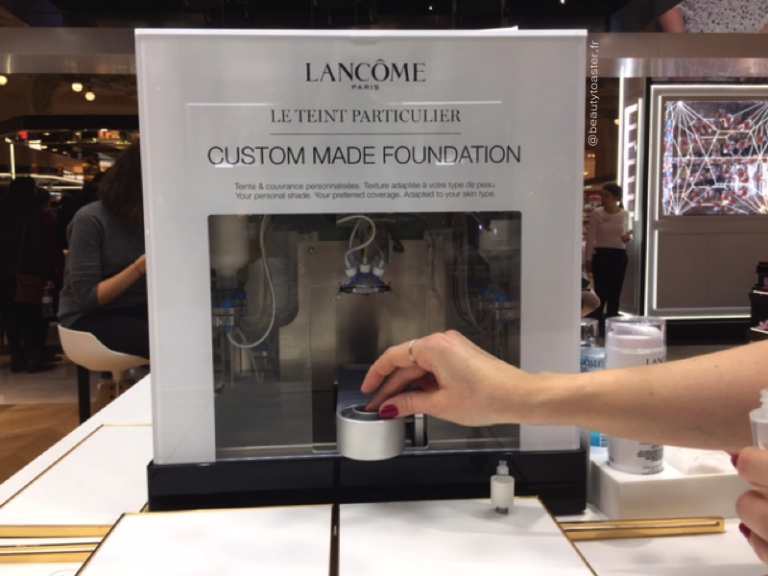
Lancome Le Teint Particulier: Custom-made Foundation to match Skin tone

Lancome Le Teint Particulier is a custom-made foundation by Lancome. It is the current epitome of the personalized foundation made especially for you. The foundation will be based on your personal shade, coverage preference, and type of skin. Having one made is a luxury experience in itself, but the question is: Is it worth the 89€ price tag (in Paris)? Would it be a great gift for someone? Well, read on!

The Background: Skin-tone, Personalization, and Finding That Elusive Perfect Shade

My guess is everyone who would even consider of getting this foundation, must have fallen into a category of

  • Difficulty finding the perfect shade of foundation. (there are 72000 different combinations with Lancome La Teint Particulier)
  • No time for trial and error, I just need my perfect shade in the shortest amount possible.
  • I love having a custom product just for me.
  • The curiosity of a beauty addict.

They have the service at Nordstrom in the US, Galeries Lafayette Hausmann in Paris, Harrods in London etc.

The Process

The whole process takes about half an hour. The counter looks really nice, a bit industrial with the device to “print” the foundation. It also has a centrifugal device to make sure the colors mix properly.

1. Skin and Coverage Preferences

Lancome has an accompanying application to do the whole process. You can add your skin type and the foundation will use the appropriate type of moisturizer based on that. Same thing with coverage. (Note: I was actually hoping to have something to calculate the moisture level on my skin without me telling them. Also I was hoping to have an augmented projection on how the foundation will look like if it’s tinted-moisturizer, medium, or full coverage.)

I chose a combination skin type with medium coverage.

Read Complete Article at Lancome Custom-made Foundation

Also Read: Teeth Whitening Kit

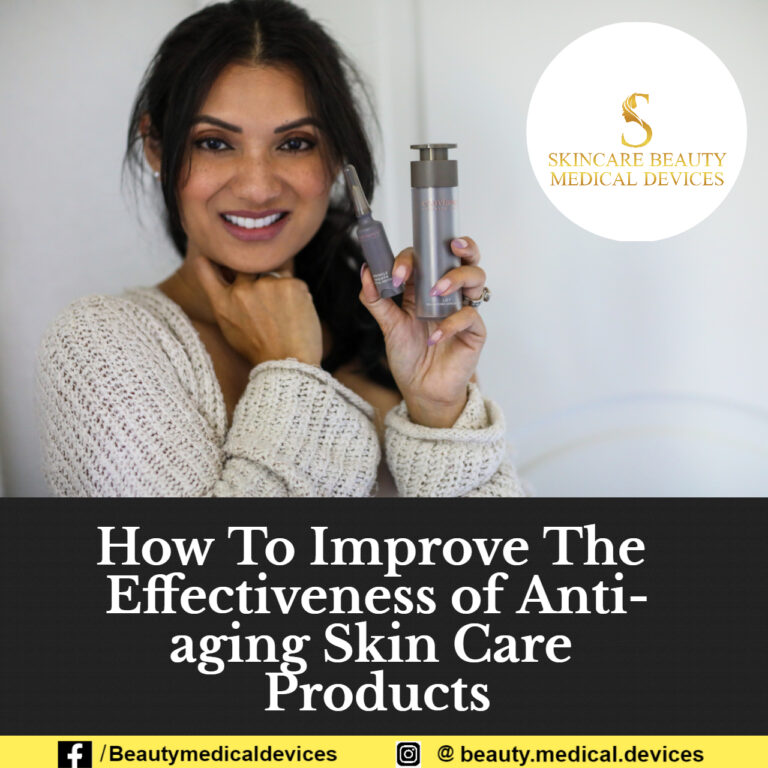
How To Improve The Effectiveness of Anti-aging Skincare Products

0

Are you using anti-aging skin care products but are not happy with the results? May be it’s because of the way you are using it.

The way you use anti-aging skincare products affects its results to a large extent.

TIPS BY DERMATOLOGISTS TO IMPROVE EFFECTIVENESS

  1. Begin with a single product. Using multiple anti-aging products concurrently may irritate your skin. Once your skin is irritated, the signs of aging become more visible.
  2. Conduct a patch test before applying the product on your face or hands. Even the products labeled as hypoallergenic can cause a skin reaction. To test a product, dab a small amount on the inside of your forearm. Repeat this procedure twice daily for four to five days. If your skin appears normal — without redness, itchiness, or other adverse reactions — you may apply it to your face and other skin.
  3. Put an end to the use of any product that stings, burns, or tingles. These sensations indicate that the product is irritating your skin. Irritated skin appears to be older. If you are using a product prescribed by your dermatologist, check to see if this is normal before discontinuing use. Certain prescription-strength products may cause a burning or stinging sensation.
  4. Adhere to directions. Certain products contain active ingredients that can cause complications if used in excess. You may develop clogged pores, blotchy skin, or skin that is excessively dry. Please read the instructions carefully and follow them strictly.
  5. Allow sufficient time for the product to work. While a moisturizer can instantly plump up fine lines, most products take at least six weeks to work. Occasionally, it may take up to three months. Allow time for the product to work.
  6. Continue to use if you want to see results. Individuals frequently discontinue using a product once they see results.
  7. Sunscreen your skin. Sun protection aids in the reduction of premature aging signs on the skin. Additionally, it enables your skin to repair and renew itself, lowering your risk of developing skin cancer.
  8. Apply a moisturizer. Moisturizers retain moisture in the skin. This additional moisture can assist in minimizing the appearance of fine lines and brightening the complexion.
  9. Ignore tanning. Tanning accelerates the aging process on your skin. Tanning can result in premature wrinkles, age spots, and other undesirable signs of aging.

About the Author:

Germie Alderite is a Registered Medical Technologist in the Philippines. She is currently studying Doctor of Medicine in the said country. Germie worked in an Adventist Wellness Center for a year before entering Medical School. She believes that many transgress the laws of health through ignorance, thus, people need instruction. They need to be impressed with the importance of making their knowledge a guide of life. Physician has many opportunities both of imparting a knowledge of health principles and of showing the importance of putting them into practice.

To know more about Skincare Devices and Beauty’s latest updates, please Like and Follow our Facebook and Instagram accounts…

Also Read: Beauty Tools for Skincare Routine

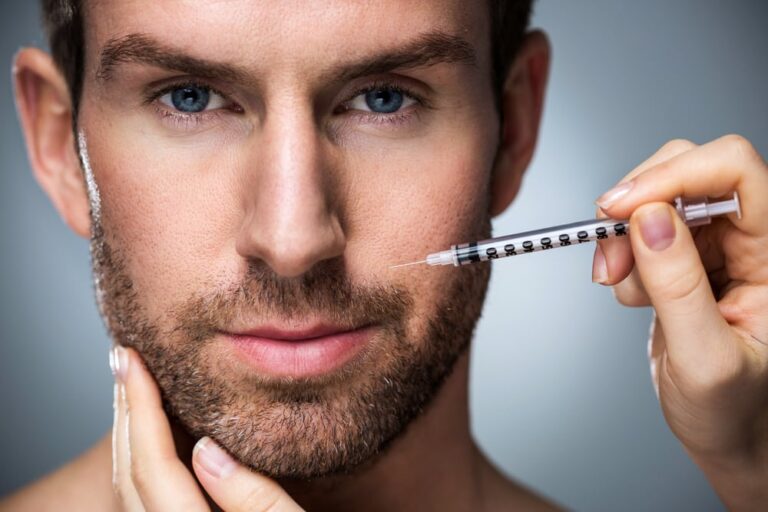
All You Might Need To Know On Botox for Men: Pros and Cons

0

Botox treatment for men is on the rise, but should you consider using it to improve your appearance? We outline the pros and cons of Botox for men, as as alternatives to this popular but polarizing treatment.

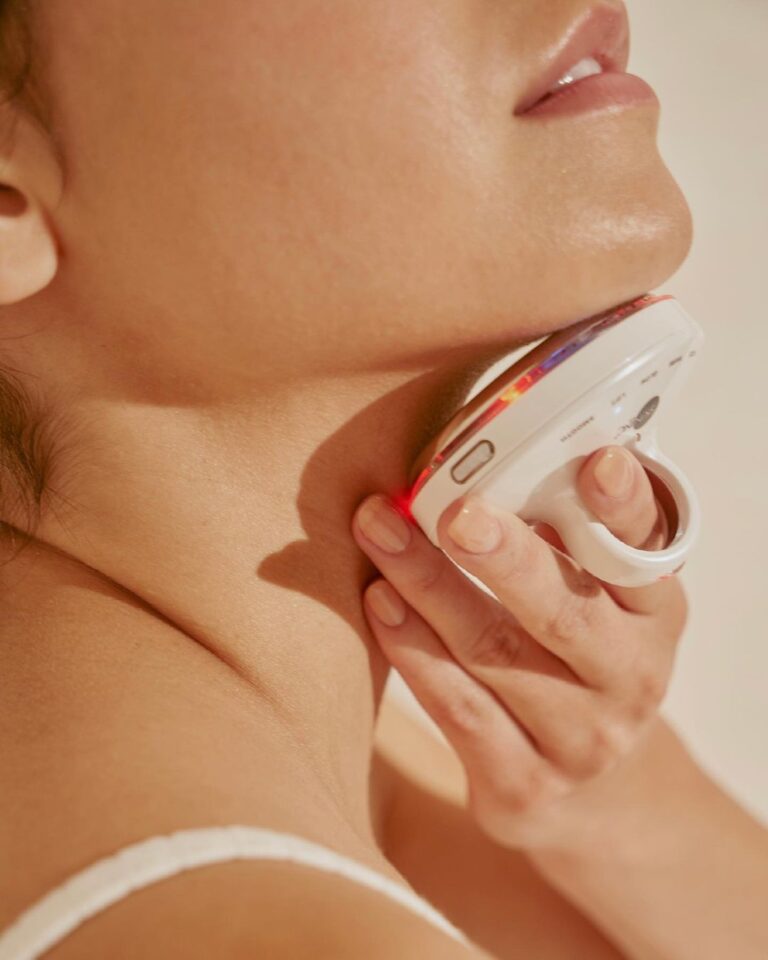
Tri-Light Body Sculpt Fit: Your At-home 360 Body Workout Reinvented

Use the Tri-Light Body Sculpt Fit to Tone, Lift, Contour, Brighten & Smooth appearance of skin with non-invasive and anti-shock microcurrent treatment. Some of the widely-known concerns for body care vary from stretchmarks, belly bulge, lack of elasticity, double chin and back acne. Each body is unique and different.

Turn on the Power of Customization with Tri-Light Body Sculpt Fit, another World’s First by Skin Inc. This revolutionary, non-invasive and anti-shock microcurrent treatment is a 4-in-1 that helps to tone, lift, contour, brighten, and smooth appearance of problem skin, with zero downtime. The Tri-Light Body Sculpt Fit provides 3000 5-min at-home treatments. This will instantly detox, uplift your mood and boost your body for the overall appearance of healthy glowing skin.

4-IN-1 TREATMENTS

  • GLOW MODE: Help improve marks and dullness for brighter skin with Green LED, micro-vibrations & microcurrent.
  • LIFT MODE: Helps to tighten sagging skin for a firmer and more supple appearance that you can feel skin deep, with Red LED, micro-vibrations, micro-current & warming technology.
  • SMOOTH MODE: Helps to target appearance of problem skin such as backne, chestne & assne with Blue/Red LED, micro-vibrations & micro-current.

Along with a healthy diet & regular exercise, the Tri-Light Body Sculpt Fit stimulates your muscles for a lifting effect, so you’re getting a full body workout without all the work!

RESULTS

  • After 1st Use:
    Instant relief due to warming & vibration
    Reduction in puffiness & water retention
  • After 2-4 weeks:
    Skin appears more elastic
    Reduction of lines & wrinkles
  • Long-Term:
    Overall boost in hydration
    Skin appears more supple & smooth

When using the device for the first time after the purchase, use it after charging it for at least one hour. To power the device, hold down the power/mode button for a second to turn on/off the power.

Read Complete Article at Tri-Light Body Sculpt

Also Read: Illuminage Touch Permanent Hair Remover

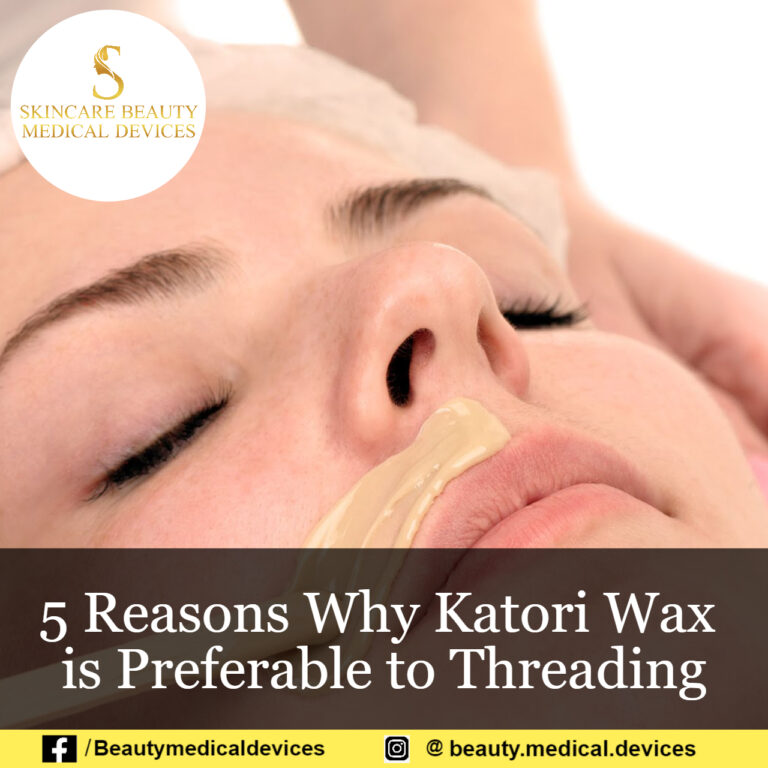
5 Reasons Why Katori Wax is Preferable to Threading

We understand that facial hair removal can be pretty painful.  Threading is a popular method of removing facial hair but it is can be a painful and time-consuming method of epilation in salons. If you’re looking for a less painful, longer-lasting procedure, you should learn about the benefits of Katori wax.

What is Katori wax used for?

As the name implies, Katori wax is cold wax in a metal bowl that can be heated directly. This specialized wax may be a more effective method of hair removal. From tan removal to a less painful experience, here are five reasons to try Katori wax:

  1. It is a do-it-yourself project

You can quickly heat the Katori wax in your home and experiment on your own. After heating the wax, allow it to cool slightly before applying it to the desired area at a manageable temperature. After using the wax, tap it evenly to remove excess and allow it to cool. Once the wax has cooled, check to see if it has become tight. Now, reverse the direction of the pull to remove the hair.

  1. It dislodges hair

Waxing your facial hair is considered to be more effective because it eliminates hair at the follicle level. In comparison to other methods, the wax assists in removing hair from the roots.

  1. Less agonizing

Threading can be an excruciating experience for females. And you’d be dreading the salon visit if you’re hairy or getting upper lips done with total growth. In comparison to threading, waxing completely removes the hair patch.

  1. Long-lasting

The effects of Katori wax can last up to three times longer than those of threading, providing you with additional time between salon visits or at-home sessions. Additionally, waxing over time damages your hair follicle which contributes to the reduction in hair growth. That earns you bonus points.

  1. Struggle with blackheads and tanning

As wax is known to aid in removing tanning, the Katori wax will do the same for your face. Additionally, this wax can help in the removal of stubborn blackheads and hair. Isn’t that brilliant?

Warning before using Katori Wax

Conduct a patch test if this is your first attempt. Individuals can have varying degrees of pain and skin sensitivity. Additionally, avoid waxing large patches of skin as this can irritate your skin.

Also read: COMPARISON BETWEEN DIFFERENT TYPES OF WAX

To know more about Skincare Devices and Beauty’s latest updates, please Like and Follow our Facebook and Instagram accounts…

About the Author:

Germie Alderite is a Registered Medical Technologist in the Philippines. She is currently studying Doctor of Medicine in the said country. Germie worked in an Adventist Wellness Center for a year before entering Medical School. She believes that many transgress the laws of health through ignorance, thus, people need instruction. They need to be impressed with the importance of making their knowledge a guide of life. Physician has many opportunities both of imparting a knowledge of health principles and of showing the importance of putting them into practice.

Mink: Is 3D Makeup Printing the Next Step in Cosmetics?

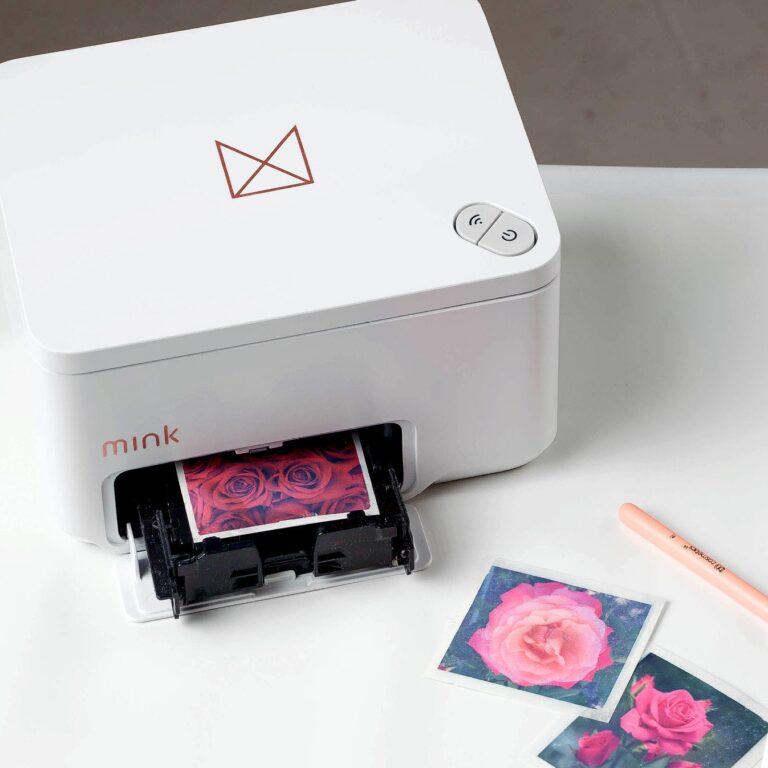
Today we’re looking at a very unusual device, the Mink, world’s first makeup 3D printer. The Mink 3D printer — named after combining the words “makeup” and “ink” — is designed to provide near-real-time production of actually usable makeup. This is quite an intriguing idea, as makeup is typically bought ahead of time, such that the wearer has a collection of useful shades. They can then select the appropriate color for the situation.

However, there are a great deal of colors and one cannot store makeup of every color. There are also situations where one does not have access to the makeup collection. These seem to be the two scenarios being addressed by the Mink device.

How Does the Mink 3D Makeup Printer work?

A smartphone app is used to collect — by download or capture with the camera — an image of the required makeup color. Now, don’t think of this as a “paint chip”. It could be an image of literally anything. For example, you could use an image of someone else’s eye already with makeup applied.

Once the image is selected, it’s sent to the Mink 3D printer. A consumable sheet is inserted, and the image is faithfully reproduced on the sheet. But here’s the really interesting part: the image on the sheet is actually usable makeup! By sliding your fingertip or a brush over top of the image — or at least the portions containing the desired color — you can pick it up and apply it on your person.

2D or 3D Printer?

In a sense, that’s technically correct: a 2D design is being reproduced here, not a three-dimensional model. However, there are some complications here.

First, this device is mixing materials and ink to produce a thin, but not zero thickness, layer. It’s not quite like a plain 2D image.

Read Complete Article at World’s first 3D Printer

Also Read: Simple ways to fight Acne

Get To Know About The Amazing Anti-aging Benefits of Ferulic Acid

0

You might have seen the name Ferulic acid or hydroxycinnamic acid in many anti-aging skincare products. If not, you might start adding it to your daily regime for a fresh and younger looking skin. So, keep reading to know about the benefits of ferulic acid and how to use it. 

What is Ferulic Acid?

Hydroxycinnamic acid, aka ferulic acid, is a natural, plant-based antioxidant. It is usually obtained from bran, rice, oats, peanuts, citrus, apple seeds, etc., but can also be synthesized in the lab. This is considered to be as effective as vitamin A, C & E. 

Generally, it doesn’t repair the damage already done but shields from the future problem. The benefits are due to its antioxidant properties. So this neutralizes free radicals, which gives anti-aging benefits like removes age spots, fine lines, and wrinkles. Ferulic Acid also prevents skin from sagging, inflammation and helps reduce the uneven skin tone. 

Ferulic Acid
Ferulic Acid Serum

Benefits

This is available in supplements, too, but they are not found effective for skincare benefits. It is preferred in serums, peels, or creams. The acid is safe to use daily; apply it on clean skin before applying moisturizer and sunscreen. 

Ferulic Acid usually comes in combination with other skincare ingredients like vitamin C or hyaluronic acid. It is generally safe for all skin types but can cause an allergic reaction in those allergic to its natural source. Do not combine it with other exfoliating acids like glycolic acid, lactic acid, etc. Always consult your pharmacist and do a patch test before applying it to your face.

About the Author:

Dr. Iqra Mubashar is a registered Pharmacist originally from Pakistan, Lahore. She has earned her pharmacy degree from the University of veterinary and animal sciences, Lahore. She has completed her internship as a trainee from Children hospital, Lahore. She has completed her research work in clinical pharmacy and pharmaceutics. She has worked as a healthcare documentation head in Al-Qasim enterprises, Islamabad. She has specialized in prescription handling, drugs information, literature research, patient counselling and pharmaceutical care plan. Her research work on coronavirus is under publication.

To know more about Skincare Devices and Beauty’s latest updates, please Like and Follow our Facebook and Instagram accounts…

Read More: Benefits of Extractions

Ear Candling for Earwax Removal – Safety and Side Effects

0

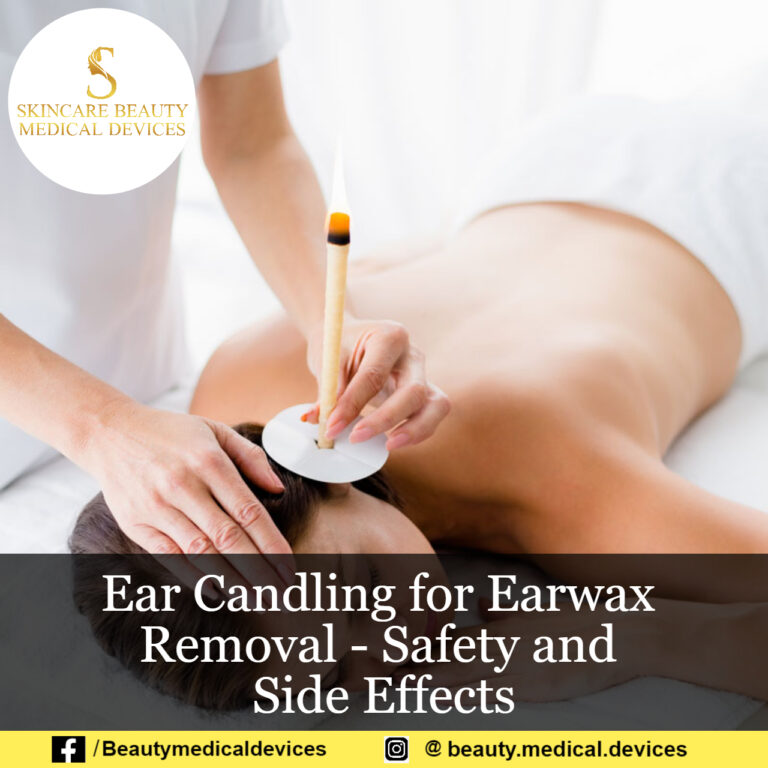
Best known as an alternative approach for earwax (cerumen) removal, ear candling involves placing a hollow, wax-covered candle in the ear. Proponents claim that lighting one end of the cone creates a suction that pulls earwax out of the ear.

How Is Ear Candling Done?

Ear candles (also called ear cones or auricular candles) are hollow tubes that are approximately 10 inches long. They are made of cotton or linen that has been wound tightly into a cone shape, soaked in beeswax, paraffin, or soy wax, and allowed to harden.

During an ear candling session, you lie down on one side with the ear to be treated facing up. The pointed end of the ear candle is usually inserted into a hole in a paper or foil plate (meant to catch any dripping wax) and then into the external ear canal.

The candle is lit at the opposite end and held as the practitioner trims away the burnt material while the candle is burning.

After several minutes (or when the candle stub is several inches from your head), the treatment ends, and the ear candle stub is removed and extinguished. The outer ear is wiped clean with a cotton ball or pad.

Does Ear Candling Work?

According to advocates of ear candling, the hollow cones create a low-level vacuum that softens and draws earwax and impurities out of the ear and into the hollow candles.

After the procedure, a dark, waxy substance is sometimes left in the hollow candle stub. Proponents claim that the waxy substance is earwax and other debris, however, critics of ear candling contend that the substance that remains after ear candling is a byproduct of the candles.

A study published in the journal Laryngoscope tested the theory and found ear candles did not produce a vacuum or negative pressure and that the waxy remains consisted of substances found in candle wax but not in-ear wax.

Read the Complete Article at verywellhealth.com

To know more about Skincare Devices and Beauty’s latest updates, please Like and Follow our Facebook and Instagram accounts…

Also read: What To Know About Ear Irrigation

Me Bright Eye Illuminating Device

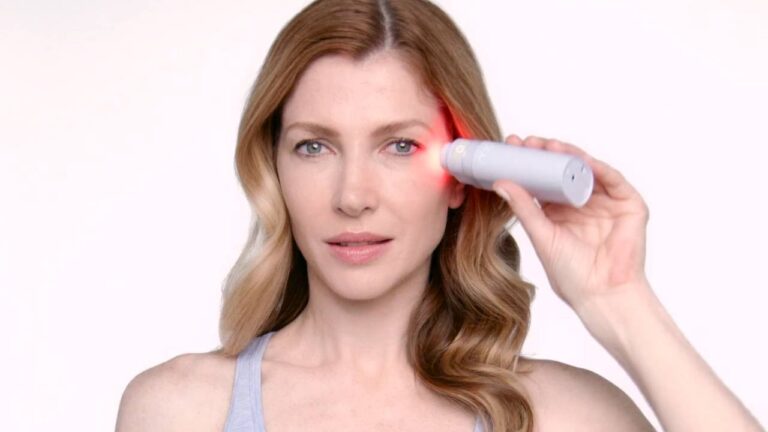
Treat tired and dull peepers to the Me Bright Eye Iluminating Device; an advanced treatment that utilises patented light technology to fight puffiness, dark circles and fine lines.

Penetrating deep beneath the skin’s surface, the handheld system is perfectly sized to target the eye area, combining Red LED Light, Sonic Vibrations and Radio Frequency to help stimulate natural collagen production, boost elasticity levels and produce new cellular activity.

As a result, skin feels firmer and more replenished, with the appearance of wrinkles and discolouration visibly reduced. FDA-cleared and completely pain-free, it’s an ideal at-home anti-ageing treatment that improves hydration and texture in as little as one week. Suitable for all skin types, achieve revitalised and younger looking skin without the need for invasive treatments or needles.

Features:

  • Me Bright Eye Iluminating Device
  • Red LED Lights, Sonic Vibrations and Radio Frequency technology
  • No dryness or irritation
  • 3 minutes per eye, 5 days a week
  • Delivers unlimited professional treatments
  • FDA cleared
  • No UV light
  • Safe for all skin types

Step by step:

  1. Cleanse skin, removing all makeup. For best results, leave skin slightly damp.
  2. Press the gray power button on the front of the device. The power button will illuminate to indicate the device is ready for use.
  3. Glide the device over the targeted eye area, ensuring full contact between the treatment head and the skin. Treat for 3 minutes.
  4. The device will vibrate indicating that it is time to move to the opposite side. Move the device and repeat step
  5. You will hear a beep to indicate your treatment is complete. The device will turn off automatically.

Read Full Story on skinstore.com


Also read: Sciton Joule X Laser: A Multi-Device Platform for Customized Treatment