Home Blog Page 155

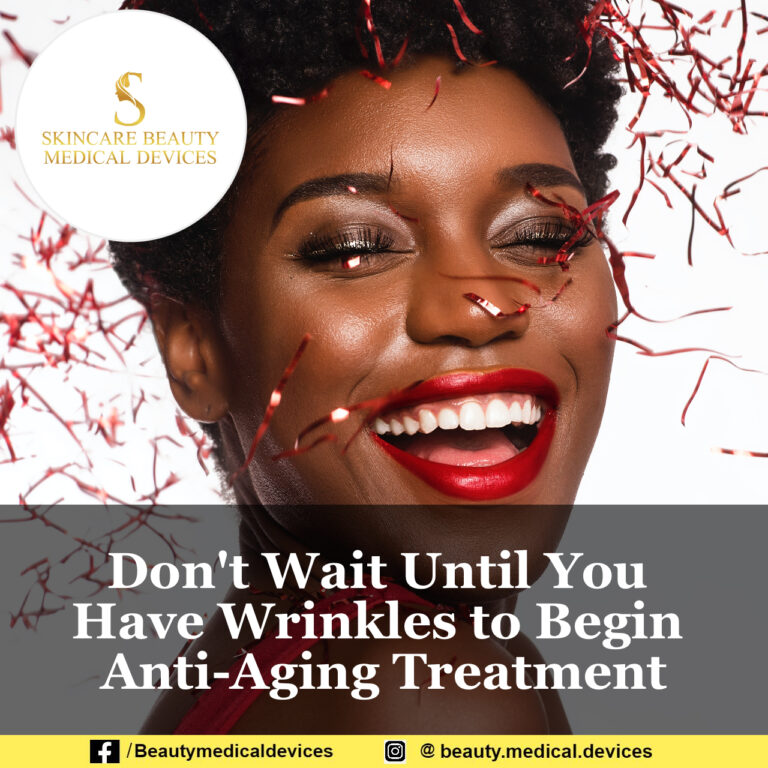
Don’t Wait Until You Have Wrinkles to Begin Anti-Aging Treatment

0

The cosmetics industry has seen a surge in anti-aging and wrinkle-removal products during the previous decade. Every day, a slew of new goods and techniques emerge to meet the millennials’ growing need to “appear picture-perfect.” Our skin and overall health suffer as a result of blue light from our devices, unhealthy eating habits, and an unproductive lifestyle, and we age as a result. It’s critical to begin an anti-aging regimen even if you’ve already noticed fine lines and wrinkles.

Don't Wait Until You Have Wrinkles to Begin Anti-Aging Treatment: Here's When You Should Begin
Don’t Wait Until You Have Wrinkles to Begin Anti-Aging Treatment: Here’s When You Should Begin

When is the best time to begin anti-aging treatment?

Dullness, sagging, and wrinkled skin are common signs of aging skin. New skin bio re-modeling techniques offer a fantastic approach to breathe new life into mature and aging skin. They employ a hyaluronic acid-based skin technique to boost the skin’s ability to produce collagen and elastin, two proteins that are essential for skin firmness and elasticity. Our skin’s natural supplies of hyaluronic acid deplete as we age, resulting in dull, dry, and loose skin.

On the internet, there is a wealth of information about anti-aging skincare. Anti-aging skin treatments should be started in the late 20s or early 30s, according to beauty experts, to keep wrinkles at bay for as long as feasible. It’s important to remember that wrinkle-removal solutions only prevent new wrinkles from appearing; they don’t make existing wrinkles disappear. As a result, the earlier you begin, the higher your chances of postponing the aging process will be.

About the Author:

Germie Alderite is a Registered Medical Technologist in the Philippines. She is currently studying Doctor of Medicine in the said country. Germie worked in an Adventist Wellness Center for a year before entering Medical School. She believes that many transgress the laws of health through ignorance, thus, people need instruction. They need to be impressed with the importance of making their knowledge a guide of life. Physician has many opportunities both of imparting a knowledge of health principles and of showing the importance of putting them into practice.

To know more about Skincare Devices and Beauty’s latest updates, please Like and Follow our Facebook and Instagram accounts…

Read also Super Easy Banana Peel Solutions for Glowing Skin

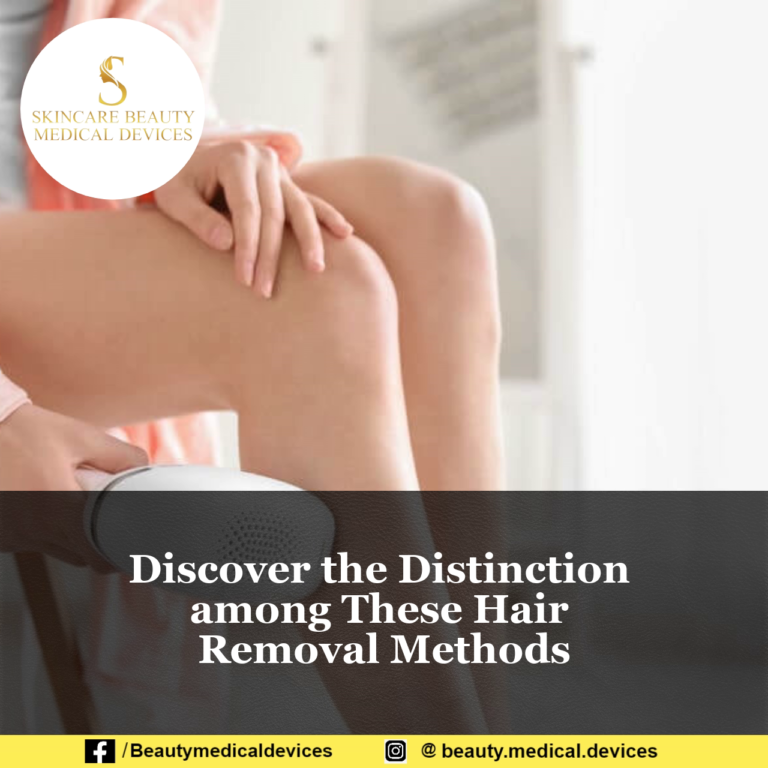
Discover the Distinction among These Hair Removal Methods

0

There are several hair removal methods that frequently performed in medical spas. Each has its own set of advantages and disadvantages. Before you choose to try one out, let’s have a better understanding of the difference among them so you can come up with a better choice.

  1. Electrolysis

This procedure inhibits hair growth by either chemically or thermally destroying the growth center. The hair is then, extracted using tweezers after that a probe is inserted into the hair follicle.

Recommended for : Patients with blond, red, or grey hair benefit the most from this method.. Additionally, it is used on smaller skin surfaces such as the outer ears, areola, fingers, hands, feet, and toes.

After Care: No post-treatment care is required, but scabbing may occur.

Dermaplaning

Dermaplaning is a sophisticated method of skin exfoliation. A physician, nurse, or esthetician performs this procedure by scraping away the dead skin covering the normal, healthy dermis with a flat number 10 or number 15 scalpel blade.

Recommended for : Fine hair on the cheek, ear, and neckline. 

After Care: Dermaplaning removes these fine hairs, but it is not permanent.

Hair Removal with Lasers

The laser generates a beam of intense light that penetrates deep into the skin tissue, delivering a precise amount of therapeutic heat.

Recommended for : Clients with fair skin and dark hair are the best candidates. This is also a viable option for those with darker skin and lighter hair, thanks to advancements.

After Care: If necessary, the patient may require ice or a cooling lotion. Additionally, verify that the client is not wearing self-tanner before beginning.


About the Author:

Germie Alderite is a Registered Medical Technologist in the Philippines. She is currently studying Doctor of Medicine in the said country. Germie worked in an Adventist Wellness Center for a year before entering Medical School. She believes that many transgress the laws of health through ignorance, thus, people need instruction. They need to be impressed with the importance of making their knowledge a guide of life. Physician has many opportunities both of imparting a knowledge of health principles and of showing the importance of putting them into practice.

To know more about Skincare Devices and Beauty’s latest updates, please Like and Follow our Facebook and Instagram accounts…

Also Read: ECG Interpretation Guide

Ear Syringing: Procedure, Safety, Benefits and Side Effects

What is ear syringing?

Ear syringing is a routine procedure used to remove excess earwax, or cerumen, and foreign materials from the ear. The ear naturally secretes wax to protect and lubricate the ear as well as to keep debris out and hinder bacterial growth. Under normal conditions, the body keeps the amount of earwax in the ears under control. Too much earwax or hardened earwax can cause a blockage in the ear, resulting in earaches, ringing in the ears, or temporary hearing loss.

Purpose of ear irrigation

The ear, especially the canal and eardrum, is very sensitive. Earwax buildup can cause damage to these structures over time. This can affect your hearing. Removing excess earwax with ear irrigation is a safe way to minimize the risk of damage to the ear.

Sometimes foreign materials like food, insects, or small stones can get into the ear. In these cases, the goal is to safely and quickly remove the items before they move deeper into the ear or do damage to the delicate canal. Ear irrigation can be effective in removing foreign materials from the ear.

Ear irrigation process

Before your doctor performs an ear irrigation, they will want to look inside your ear. This is done to ensure that your symptoms are the result of excess wax buildup or foreign materials and not something more serious.

Your doctor may diagnose excess earwax by inserting an instrument called an otoscope into the opening of your ear. The otoscope shines a light into your ear and magnifies the image.

If wax buildup is the issue, your doctor will perform the irrigation in their office using a syringe-like tool. This tool will be used to insert water or a water and saline mixture into the ear to flush out the wax. You may feel slight discomfort from the water in your ear or from holding your ear in place.

Read Complete Article at Ear Irrigation

Also Read: Remove Dry Skin from Feet

3 Home Treatments You Should Know for Facial Hair Removal

Unlike hair on other areas of the body, facial hair is highly noticeable and may make or break your appearance. If you’re tired of visiting a salon every few weeks, here are some simple and efficient home methods for natural facial hair removal.

Home-Made Face Masks for Facial Hair Removal

1. Sugar and Lemon Juice

  •  Combine 2 tbsp. sugar and 2 tbsp. lemon juice in a bowl with 8-9 tbsp. water.
  •  Heat this mixture until bubbles begin to form, then set aside to cool.
  •  Using a spatula, apply it to the affected regions and leave it on for around 20-25 minutes.
  • Remove it with cold water with a circular motion.

2. Honey with Lemon

  • Combine two tablespoons sugar, one tablespoon lemon juice, and one tablespoon honey.
  • Heat the mixture for around three minutes and add water as needed to thin it down.
  • Once the paste has cooled, apply the affected area with cornstarch and spread the paste in the direction of hair development.
  • Next, pluck the hair out in the opposite direction of growth with a waxing strip or a cotton cloth.

3. Banana and Oatmeal

  • Combine two tablespoons of oatmeal and a ripe banana in a blender.
  • Using this paste, apply it to the affected regions.
  • Massage it for a total of 15 minutes.
  • Rinse it thoroughly with cool water.

About the Author:

Germie Alderite is a Registered Medical Technologist in the Philippines. She is currently studying Doctor of Medicine in the said country. Germie worked in an Adventist Wellness Center for a year before entering Medical School. She believes that many transgress the laws of health through ignorance, thus, people need instruction. They need to be impressed with the importance of making their knowledge a guide of life. Physician has many opportunities both of imparting a knowledge of health principles and of showing the importance of putting them into practice.

To know more about Skincare Devices and Beauty’s latest updates, please Like and Follow our Facebook and Instagram accounts…

Also Read: ECG Interpretation Guide


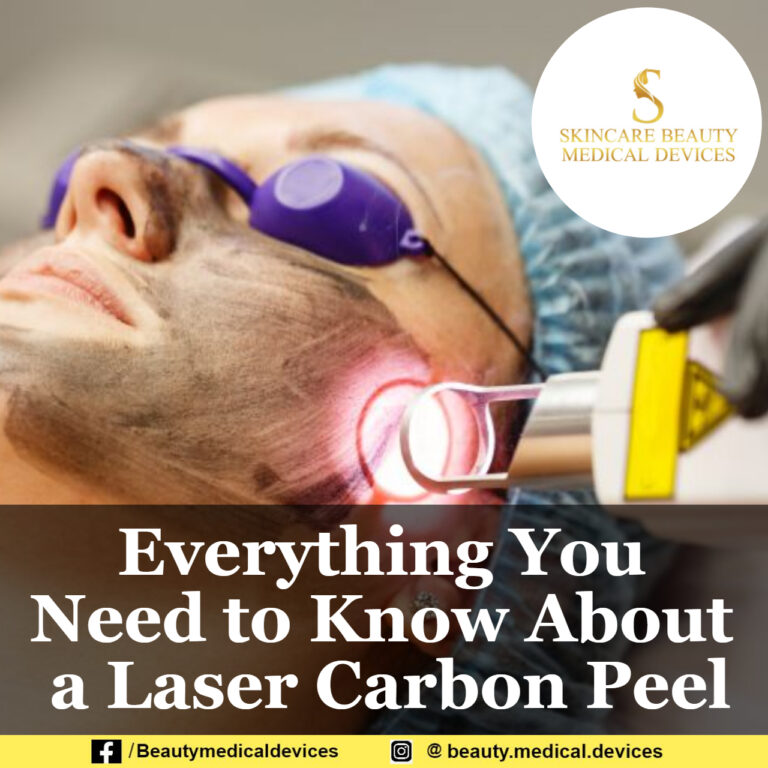
Everything You Need to Know About a Laser Carbon Peel

0

The laser carbon peel is a fast and painless procedure done to help improve the look of skin, it is also used primarily by people with oily skin. This treatment is also beneficial if you’re starting to see the effects of sun damage to your skin.

Laser carbon peels are not for everyone. In this article, we’ll go over the benefits and effectiveness of this procedure so that you can best determine if this treatment is the right one for you.

What are the benefits of a laser carbon peel?

Laser carbon peels deeply exfoliate skin. They also help stimulate collagen production.

Laser carbon peels are used to treat:

  • acne
  • acne pigmentation
  • acne scarring
  • enlarged and clogged pores
  • melasma
  • photoaging
  • fine lines and wrinkles

Chemical peels also treat these skin conditions, but here are some of the main differences between the two:

  • laser carbon peels use heat instead of chemicals for results
  • laser carbon peels require no down time
  • people with sensitive skin or skin conditions like eczema will usually experience less redness and irritation after a carbon peel than from a chemical peel

Here’s what you can expect from a typical laser carbon peel:

  1. Your doctor will spread a layer of liquid carbon onto your face. The carbon absorbs oil, dirt, and dead skin cells from deep within the pores.
  2. You’ll wait for about 10 minutes for the liquid carbon to dry.
  3. After the carbon has dried, your doctor will give you eye shields to protect your eyes from the laser.
  4. Your doctor will pass a laser, such as the Nd:YAG, over the skin on a low-energy setting. This heats up the carbon, binding it to the epidermis.
  5. If you have very sensitive skin or dark patches like melasma, your doctor may recommend skipping the heating step. The laser also heats up subdermal tissue, boosting collagen and plumping up fine lines.
  6. On a higher-energy setting, the laser will be used to fragment the liquid carbon into tiny particles.
  7. A smoke evaporator attached to the laser will remove the carbon as well as the debris and impurities it contains.
  8. Your doctor may also apply a hydrating moisturizer and sunscreen to your skin after treatment.

Read more about: Everything You Need to Know About a Laser Carbon Peel

To know more about Skincare Devices and Beauty’s latest updates, please Like and Follow our Facebook and Instagram accounts…

Read also: 8 Best Anti-Aging Skin Care Tips for Every Body

Expert Guide To Decoding Day Time And Night Time Skincare Routines

0

Skincare Routines: The phrase ‘As different as night and day’ isn’t merely a simile reserved for poems, but in fact, a hard fact, especially when it comes to your beauty regimen. Elaborating on this, Namrata Reddy Sirupa Co-Founder, Satliva, says, “While on the surface, night time skincare routines may seem similar to day time routines, with cleansing, moisturising and the likes, but the paths they should employ are in fact, very different.

It follows that a day time skincare routine should consist of a light layer of products that will protect you from the sun, dirt and impurities, while keeping skin moisturised. These will be lightly moisturising and non-photosensitive products. At night, your routine should involve replenishing the skin with all the nutrients that the day might have stripped it off of. As such, you will need a heavy moisturising routine, sometimes involving photosensitive products and moisturising components that seep deep into the pore.

Since your skin replenishes itself when you are resting, at night is when you should pack on products that will help it do this. Think of your day time skin routine as a protective one, and your night time skincare routine as the one that will recharge skin cells. Sirupa adds, “Your day time routine should focus on SPF products and antimicrobial and antibacterial components that protect you from harsh sun damage, dirt and bacteria. Your night time skincare routine can focus on packing your cells with moisture, vitamins and minerals,thereby recharging them for the day to come and creating a stronger skin barrier that can fight away the dangers of the day better!”

Read Full Story on Skincare Routine 


Also read : 7 Natural Remedies For Growing Fuller, Longer Lashes

Super Easy Banana Peel Solutions for Glowing Skin

0

While bananas are extremely nutritious for your health and skin, it has been shown that banana peels offer super skin advantages due to high vitamin B6, B12 ratios.They are also high in macronutrients such as protein, fiber, magnesium, and potassium, which help to keep your skin youthful, nourished, and smooth.

Super Easy Banana Peel Solutions for Glowing Skin
  1. Mask made from banana peel
  • 2 banana peels, grated
  • Add 2 tablespoons milk to the banana peel paste and re-grind. 
  • Refrigerate the banana paste for 10-15 minutes before applying the cool brownish mask to your face and neck.
  • Allow it to sit for 20 minutes before rinsing it off with cool water
  1. Banana scrub
  • Slice the banana peel into little pieces and apply it all over your face and neck.
  • Banana peel boosts collagen production, diminishes dark circles, exfoliates dead skin, regulates oil glands in the skin, and tightens pores.
  • Allow the peel residue to dry for 20-30 minutes before wiping it away with a warm washcloth.
  1. Banana peel eye patch
  • Cut the banana peel into two tiny slices and chill for 10-15 minutes in the freezer. Apply the peel for 20 minutes under your eyes and repeat this therapy three times a week.
  • Banana peels not only assist to reduce dark circles, but also puffiness and edema around the eyes.

About the Author:

Germie Alderite is a Registered Medical Technologist in the Philippines. She is currently studying Doctor of Medicine in the said country. Germie worked in an Adventist Wellness Center for a year before entering Medical School. She believes that many transgress the laws of health through ignorance, thus, people need instruction. They need to be impressed with the importance of making their knowledge a guide of life. Physician has many opportunities both of imparting a knowledge of health principles and of showing the importance of putting them into practice.

To know more about Skincare Devices and Beauty’s latest updates, please Like and Follow our Facebook and Instagram accounts…
Read also 7 Natural Remedies For Growing Fuller, Longer Lashes

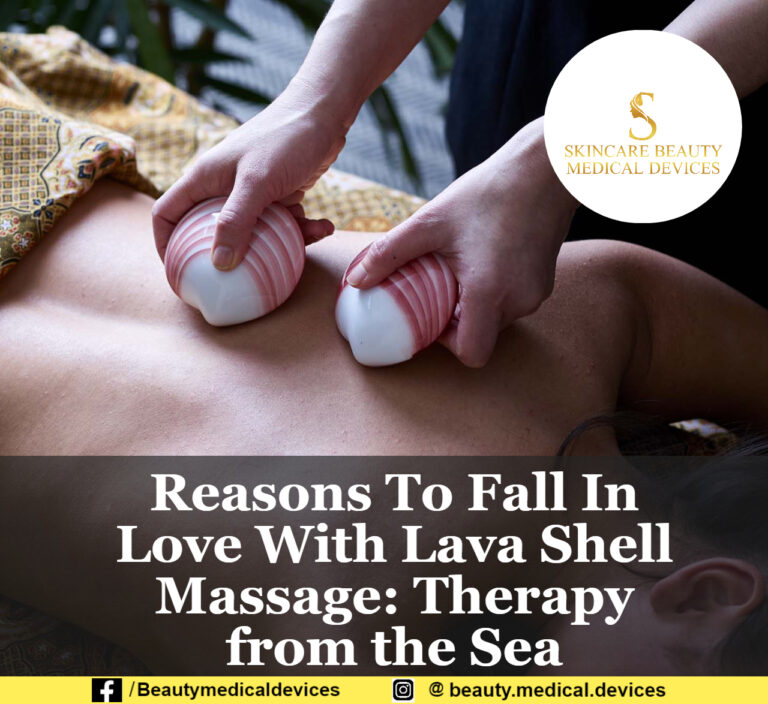
Reasons To Fall In Love With Lava Shell Massage: Therapy from the Sea

Lava Shell massage is a type of heat treatment that uses Tiger Clam shells as a massage tool. The clams have been harvested for food in the Philippines for hundreds of years. The shells used to be thrown away, but are now being recycled and used for Lava Shell massage. This tranquil massage uses the world’s first self-heating massage tool and the heat is produced by inserting a ‘lava gel sachet’ and ‘activator liquid’ into the shell.

What is a Lava Shell massage good for?

Lava Shells massage is greatly enjoyable for anyone with tense muscles. The heat from the Lava Shells will gently relax and smooth away knots. The Lava Shells owe their magic to a mix of minerals including dried sea kelp, dead seasalt, algae and essential oils. The heated shells also give off calcium ions, which transfers to your skin during the massage. Calcium can help to firm and regenerate the skin.

Lava Shell massage can:

  • boost circulation of blood and lymph
  • soothe aches and pains
  • reduce swelling and water retention
  • relax you.

What to expect from a Lava Shell massage

Lava shells are heated by single-use disposable sachets. The therapist inserts a sachet of algae, minerals and dried sea kelp into the shell, then adds an activator liquid. The chemical reaction between the activator and the “lava gel” sachet creates heat that can last up to a couple of hours.

Your therapist will begin the treatment with an application of massage oil to help make the strokes smoother. She will then press the heated Lava Shells onto key points of your body to relax your muscles, before using the smooth part of the shells to massage your torso and limbs using slow deep moves.

The therapist can use different areas of the Lava Shells to complement particular massage strokes. The knob on the back of the shell can be used to work away at tight knots. The smooth surface of the shell is ideal for applying gentle pressure to calves and arms.

Read Complete Article at Lava Shell Massage

Also Read: Galvanic Facial Benefits

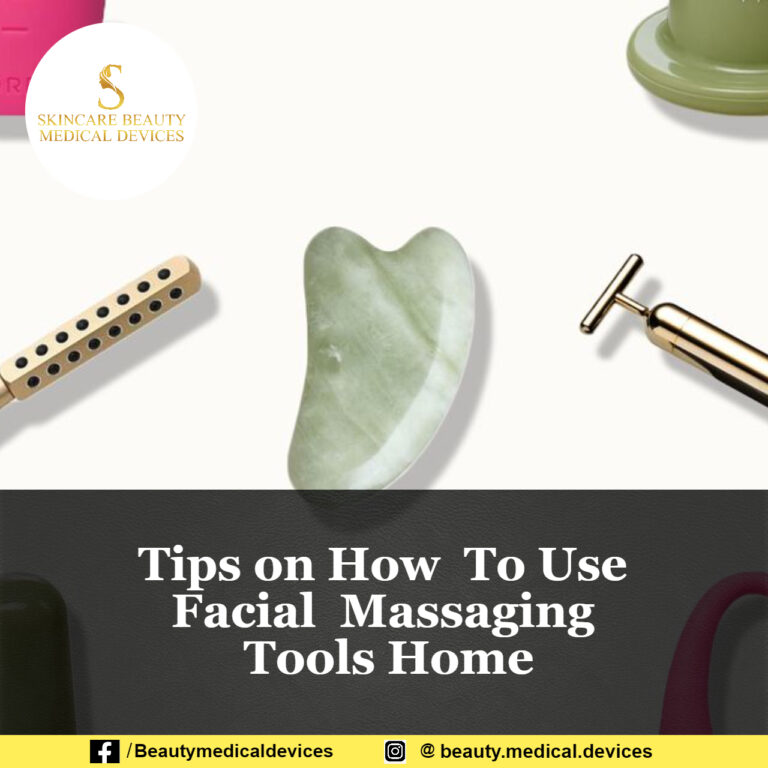
Tips on How To Use Facial Massaging Tools Home

0

Facial massaging tools are the newc and no one can deny its effectiveness. But before you start using one, read the following guidelines carefully. 

FACIAL ROLLERS

There is no one-size-fits-all method for using a facial roller, which makes them quite appealing, but I recommend the following: Firm up sagging jowls by rolling up and down the jawline. Then, work your way up into the cheekbones, massaging away tension and contouring. Then, using the smaller end of the roller (if yours has one), roll under the eyes to aid in circulation and puffiness reduction. Continue rolling up the face and in between the brows to relax the ‘angry 11’.Don’t forget to roll the neck area, which is frequently overlooked but needs massage and TLC. Always move the roller from the center to the outer edge of the face.

GUA SHA

Arrange the gua sha tool parallel to your skin; place the fingers of your free hand close to the tool’s edge to provide resistance. Then sweep the tool up and out toward the perimeter of your face. Give the tool an extra wiggle at the end of each stroke to assist in releasing additional tension. Each stroke should be repeated three times, concentrating on puffy areas such as the cheeks and under eyes.

About the Author:

Germie Alderite is a Registered Medical Technologist in the Philippines. She is currently studying Doctor of Medicine in the said country. Germie worked in an Adventist Wellness Center for a year before entering Medical School. She believes that many transgress the laws of health through ignorance, thus, people need instruction. They need to be impressed with the importance of making their knowledge a guide of life. Physician has many opportunities both of imparting a knowledge of health principles and of showing the importance of putting them into practice.

To know more about Skincare Devices and Beauty’s latest updates, please Like and Follow our Facebook and Instagram accounts…
Also Read: Guide To Chemical Exfoliation


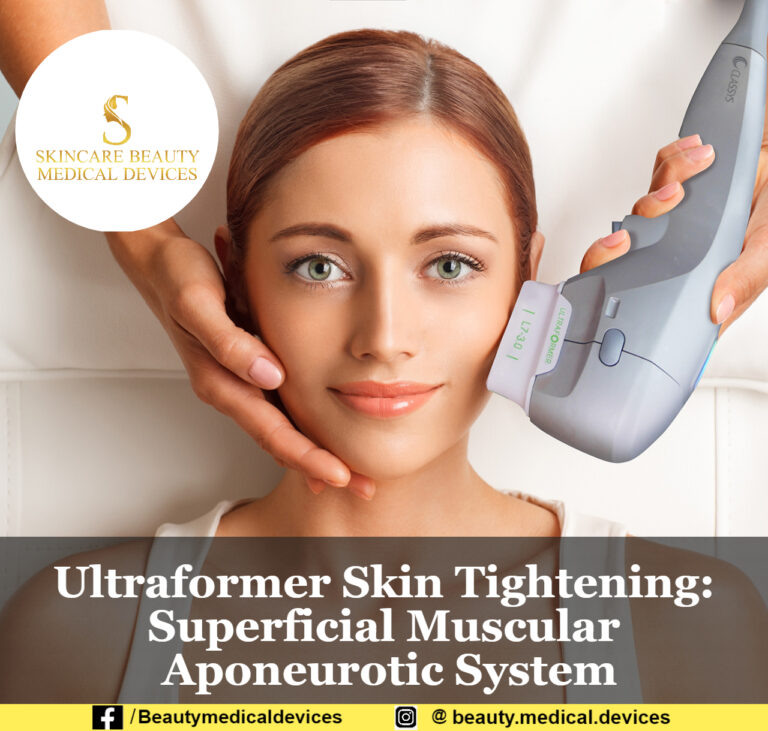
Ultraformer Skin Tightening: Superficial Muscular Aponeurotic System

What is Skin Tightening with Ultraformer?

Skin Tightening with Ultraformer is a non-invasive treatment that uses focussed ultrasound energy at specific and precise depths. It instantly contracts existing collagen fibres and promote long term stimulation of new and stronger collagen production to give your skin some tightening and lift.

Skin Tightening with Ultraformer 7D Lifting uses ultrasound energy and is more comfortable than Thermage. It causes the same immediate skin contraction but is more focused at specific depths compared with Thermage which uses more bulk heating. Results continue to improve for up to 5 to 6 months and delay ageing for many months afterwards. Repeated treatments (ideally twice a year) obtain cumulative and additional tightening benefits.

What does Ultraformer Skin Tightening do?

In a single session it:

  • Lifts and tightens sagging skin.
  • Improves elasticity to firm skin.
  • Slims down facial and body contours.
  • It restores skin back to its strength of a younger skin.

How does Ultraformer Skin Tightening work?

Skin Tightening with Ultrasound targets deep structural skin fibres with focussed Ultrasound technology. This in turn stimulates collagen growth. As we age, collagen loses its elasticity and its ability to hold the facial skin structure as it did in younger years. This process can therefore act as a boost in reversing the effects of ageing and help strengthen the skin structure again. With repeated treatments it is now possible to slow down the ageing process. As with all the skin strengthening treatments, focussed ultrasound and resulting heat causes a two fazed response:

  1. Immediate fibre contraction, tightening and lifting. Collagen fibres are made of protein and when we heat protein it immediately contracts.
  2. This heating results in a typical wound injury response by our deeper cells by releasing growth factors. These in turn, start a process of collagen cell activation and multiplication.

Read Complete Article at Ultraformer Skin Tightening

Also Read: Home Remedies for Bad Breath