Home Blog Page 347

10 Best Massage Oils to Rejuvenate Your Body

0

10 Body Massage Oils With Their Benefits

Body massage oils are the best ‘pick-me-up’ at the end of stressful days and get your body recharged and refreshed. Besides that, body massage oils deliver a host of vital nutrients your skin needs to continue looking younger and glowing. Although there are various commercial products out there, we believe simplicity is the way to go. If you’re wondering “Which oil is best for body massage?”, look no further. Here are some of the best natural body massage oils along with their benefits:

1. Olive Oil

Olive oil is a full body massage oil and ideal for a light massage since it gets absorbed very slowly into the skin. The good news is that it’s perfect for relaxing your muscles and locking in moisture.
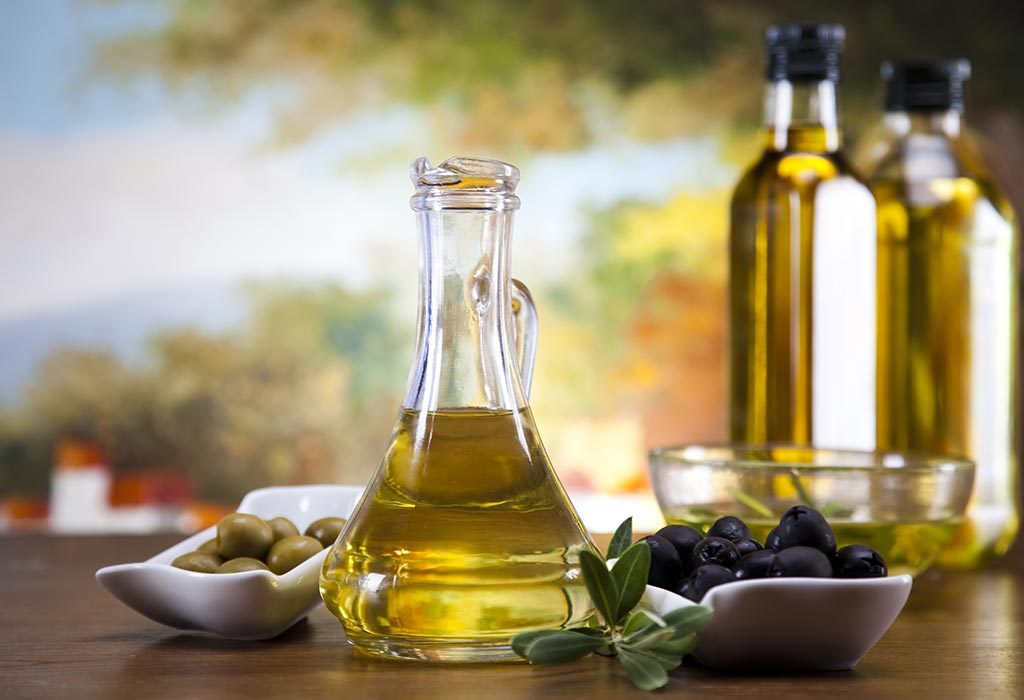
Olive Oil

Why This Oil:

  • It boosts your blood circulation and flushes out toxins, bringing a natural glow to your skin.
  • Olive oil is known to ease aches, muscle spasms, and any pain or inflammation.
  • It protects your skin from oxidative stress when massaged regularly.
  • It delivers a host of nutrients and minerals, thus boosting your metabolism and energy levels.

2. Coconut Oil

Coconut oil is an excellent carrier oil and pairs best when combined with other essential oils. It’s ideal for massages that involve short strokes and the oil doesn’t turn rancid even when you let it sit for a while on your skin.
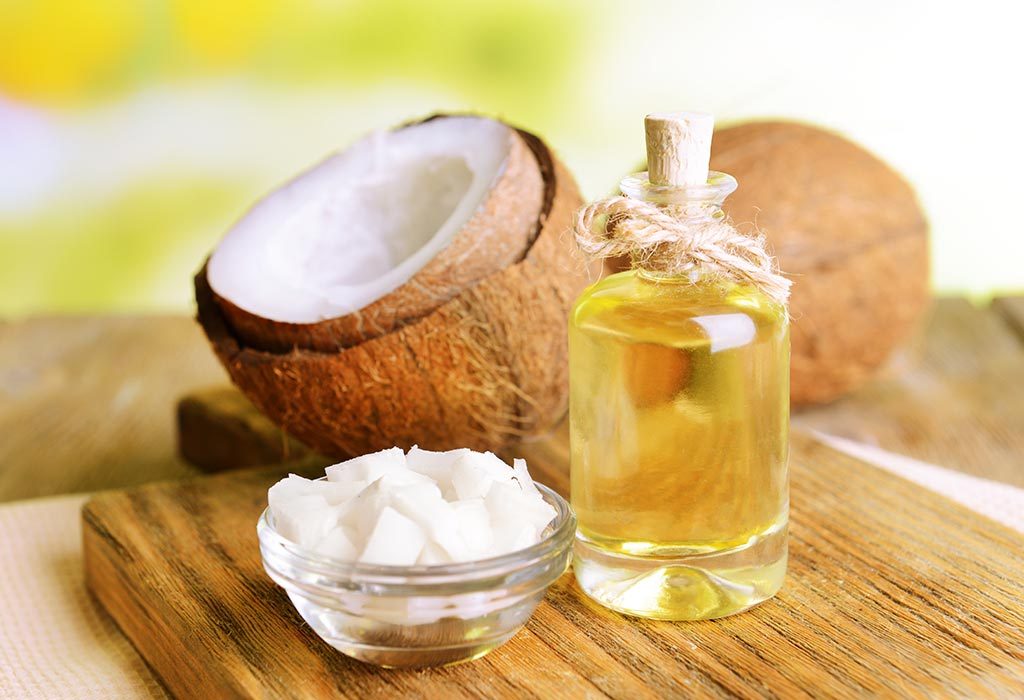
Coconut Oil

Why This Oil:

  • It has medium-chain fatty acids and saturated fats which keep your skin hydrated and lock in moisture.
  • It gets absorbed very quickly, is non-greasy and light.
  • Coconut oil helps in reducing ageing, fine lines, and wrinkles.
  • This oil a rich source of Vitamin E and has antioxidants which are beneficial for skin health.

3. Almond Oil

Almond oil is easy on the skin and suitable if your skin is sensitive. This is a pain relief body massage oil and it’s neither too heavy nor too light.
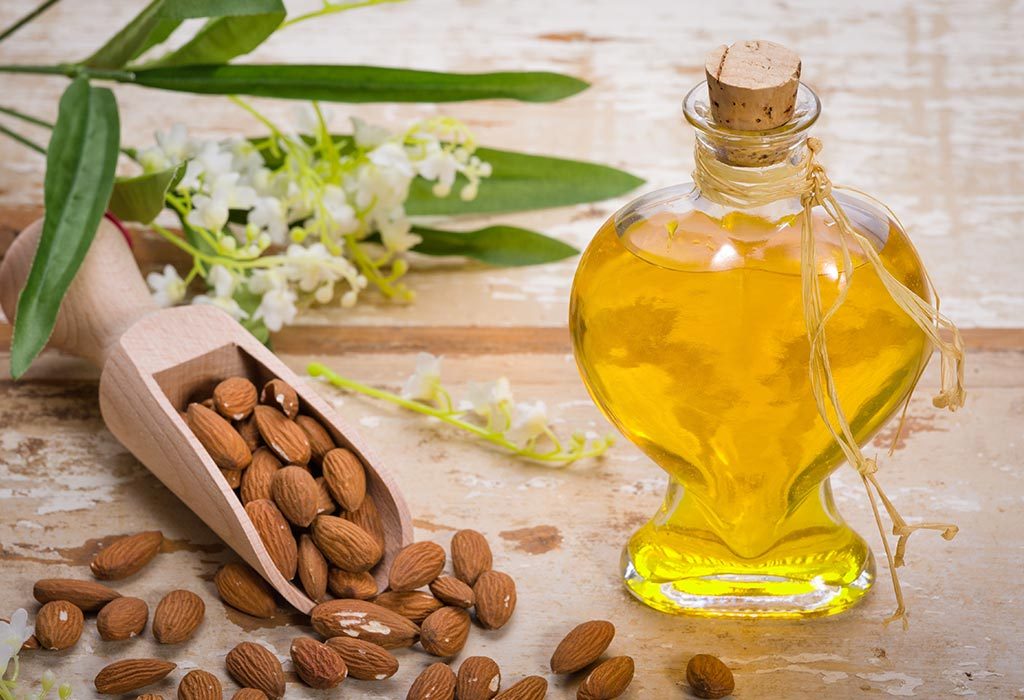
Almond Oil

Why This Oil:

  • It’s soothing on the skin, anti-inflammatory, and acts as a moisturizer.
  • It protects the skin from UV ray exposure. It provides skin-beneficial minerals and nutrients, thus eliminating tan.
  • Almond oil relaxes the muscles. It relieves pain and soreness too.

4. Grape Seed Oil

Grape seed oil doesn’t carry any smell and is very relaxing on the skin. The best part about it is that it adds glow to your skin. It’s perfect for various kinds of massages and even has antimicrobial benefits which are a plus.
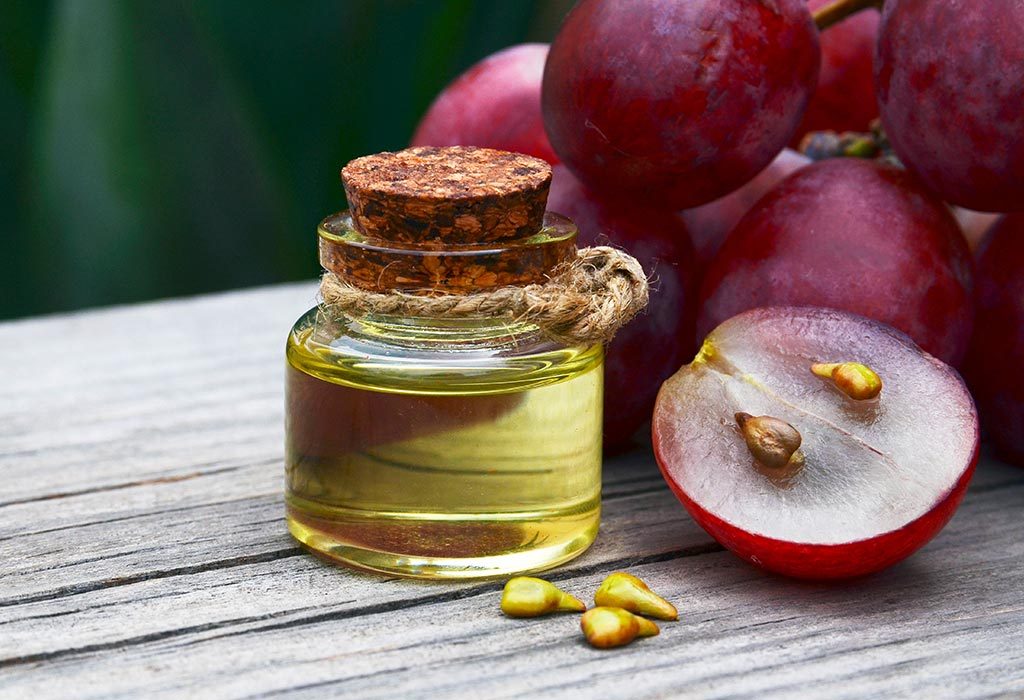
Grape Seed Oil

Why This Oil:

  • It contains a compound known as ‘resveratrol’ which is known to be anti-inflammatory.
  • It has ample amounts of Vitamin E, linolenic acid, and phenolic compounds.
  • Grape seed oil is an excellent carrier oil and pairs perfectly with herbs.

5. Sunflower Oil

Sunflower oil is no stranger in the kitchen but the fun part is that it’s also excellent for therapeutic massages. However, the only downside is that it turns rancid fairly quickly which means you should buy it in small quantities. You can extend its shelf life by adding in one or two Vitamin E capsules to it.
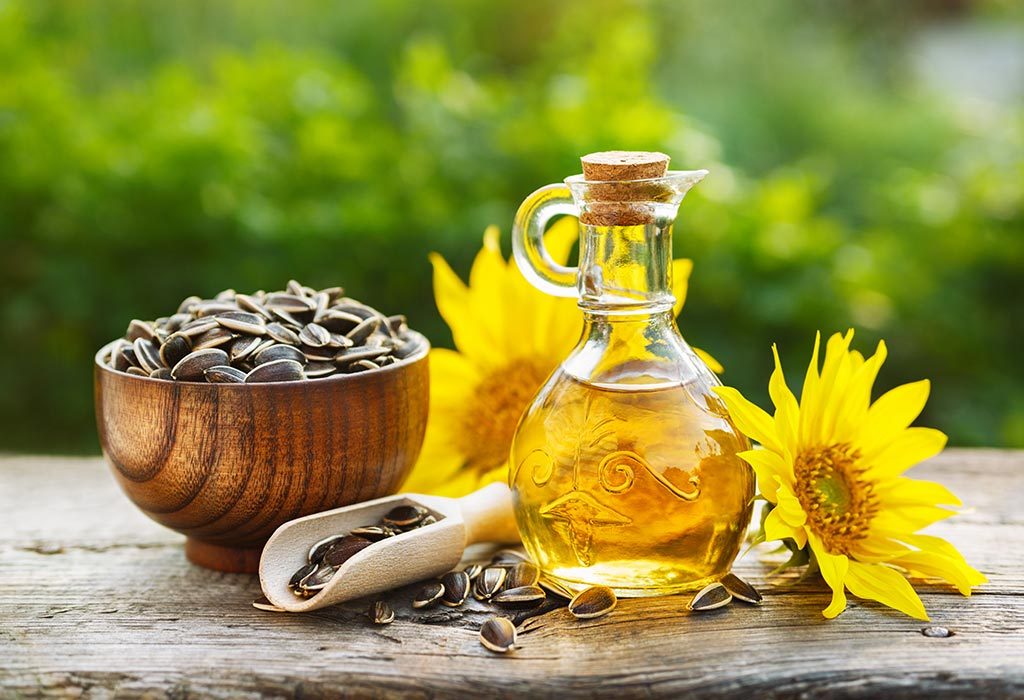
Sunflower Oil

Why This Oil:

  • It has rapid barrier regenerative properties for your skin which shields it and keeps it protected.
  • It gives anti-ageing benefits, prevents fine lines and wrinkles, and moisturizes your skin.
  • Sunflower oil flushes out toxins from your skin and keeps it young by supplying it with high doses of linolenic and oleic acids.

Read more 

Also read  Home Remedies for Oily Skin

The 8 Best Weight Loss Drinks

When used alongside healthy lifestyle changes, certain beverages are more effective than others at promoting weight loss Drinks.

Weight Loss Drinks like green tea, coffee and high-protein drinks have been shown to boost metabolism, promote fullness and decrease hunger, all of which may encourage weight loss.

Here are eight drinks that are some of the best to include in your diet when trying to lose weight and get healthy.

1. Green Tea:

Green tea is often associated with health, and for good reason.

Not only is it packed with beneficial antioxidants and other powerful nutrients, it’s also one of the most effective drinks for weight loss.

Drinking green tea has been shown to decrease body weight and body fat in several studies.

A review of 14 studies found that people who drank high-concentration green tea for 12 weeks lost an average of 0.44 to 7.7 pounds (0.2 to 3.5 kg) more than those who did not drink green tea .

2. Coffee

Coffee is used by people around the world to boost energy levels and lift mood.

This is because coffee contains caffeine, a substance that acts as a stimulant in the body and may benefit weight loss.

Coffee can reduce energy intake and boost metabolism, which may help you lose weight.

One study in 33 overweight adults found that those who drank coffee containing 6 mg of caffeine per kilogram of body weight consumed significantly fewer overall calories than those who drank less caffeine or no caffeine at all.

Caffeine intake has also been shown to increase metabolism and promote fat burning in several other studies.

3. Black Tea

Like green tea, black tea contains compounds that may stimulate weight loss.

Black tea is a type of tea that has undergone more oxidation (exposure to air) than other types of teas, resulting in a stronger flavor and darker color.

Black tea is high in polyphenols, including a group of polyphenolic compounds called flavonoids. Polyphenols are powerful antioxidants that may help reduce body weight.

4. Ginger Tea

Ginger is popularly used as a spice to add flavor to dishes and as an herbal remedy to treat a number of conditions such as nausea, colds and arthritis.

Human and animal studies have also shown this flavorful root to have a beneficial effect on weight loss.

A study found that rats fed a high-fat diet supplemented with 5% ginger powder for four weeks had significant reductions in body weight and significant improvements in HDL (“good”) cholesterol levels compared to rats fed a high-fat diet without ginger.

…..Read More……

Read Also:  5 INGREDIENTS EVERY GIRL WITH SENSITIVE SKIN SHOULD INCLUDE IN HER SKINCARE ROUTINE ASAP

THE ULTIMATE GUIDE TO USING CC CREAM ACCORDING TO YOUR SKIN TYPE

We can bet that if we reached for your makeup bag right now, we’d find a lying in there. A CC cream is a compact foundation, moisturiser, concealer and sunscreen all in one which makes it one versatile makeup staple in our everyday makeup routine. It has successfully and seamlessly slid in our lives and we can’t imagine a day without using it.

For oily skin

CC creams are a godsend for oily and acne-prone skin. It conceals your acne and acne marks, mattifies your look and gives full coverage. A non-greasy, water based CC cream like  perfect for oily skin type.

For dry skin

The biggest problem of dry skin is cracked and flaky skin due to lack of oils and moisture in the skin. A CC cream like. It is a saviour for dry skin as it contains glycerine which helps in moisturising. Deck your face with a lightweight moisturiser before applying the CC cream or mix it.

For sensitive skin

If you have sensitive skin, you might be a victim of irritation, redness and rash. Pick a CC cream that soothes your skin and protects it while giving you even tone and smooth finish. It protects your skin from environmental aggressors and the natural aloe extracts soothes skin. Apply dots of the product on your face and blend with a help of sponge to get even and brighter skin.

Read More..

Also Read: Home Remedies for Oily Skin


Homemade Leave-In Conditioner

0

This homemade leave-in conditioner is SO easy and cheap to make, you’ll be wondering why you haven’t made it before? Coconut oil is amazing in many DIY beauty recipes, but in this particular one, we will use coconut milk, and not coconut oil. While coconut oil is great to encourage hair growth and hydrate dry locks, it can also leave your strands super oily. Coconut milk, on the other hand, is perfect to use in a leave-in conditioner because it won’t leave your hair oily, but rather will soften the strands and won’t weigh hair down.

This DIY leave-in conditioner is great because it only uses 3 ingredients and takes minutes to make. Make only a small batch at a time, as coconut milk IS perishable.

Homemade Leave-in Conditioner Recipe

Ingredients:

Directions:

  1. In a medium bowl, whisk together distilled water, coconut milk, and essential oil.
  2. Pour mixture into a spray bottle.
  3. Keep in the fridge for up to a week.
  4. You may need to shake well before using.

How to Use the Homemade Leave-in Conditioner:

  • Spray directly onto wet/damp hair as you would any spray.
  • Comb through to evenly distribute.
  • Style as usual.
  • Gentle enough to use after every hair wash.
  • We love this recipe because it leaves hair silky soft and conditioned all day long.

Why Choose a Homemade Conditioner Over a Store Bought Conditioner

Store-bought conditioners and other hair products are actually packed full of chemicals that over time, can weigh the hair down and also strip it of its natural oils. These natural oils are what keeps hair healthy, shiny, and growing. Especially for those with natural hair and curly hair, a DIY leave-in conditioner is a way to go. As you start using this conditioner, you’ll notice softer hair and overall healthier and shinier hair.

When you first start using non-commercial hair products, you’ll notice that your hair may not feel the same way. Depending on the texture of your hair, it could feel softer or it could feel dryer. The important thing to remember is that you have to give it some time. Your hair needs time to adjust to the new product, but with time, you’ll notice a big difference in the health of your hair.

Benefits of Homemade Leave-in Conditioner

  • Promotes hair growth
  • Softens hair
  • Adds shine to otherwise dull, lackluster hair
  • Moisturizes dry hair
  • Hydrates the scalp
  • Prevents dandruff and other scalp related issues
  • Makes hair overall healthier Read more

Also read: How to Fix a Broken Nail: 4 Fast & Cheap Ways To Fix a Broken Nail

Home Remedies for Oily Skin

0

Oily skin is the result of excessive production of sebum from the sebaceous glands, which are located under your skin’s surface. Sebum helps protect your skin and keeps it moisturised but too much of it can lead to oily skin, which can further lead to clogged pores, acne, and blackheads. If you have oily skin, we know you must have tried a lot of products to fight it but it’s not easy to get rid of oily skin. Oily skin is thick, rough, and greasy in appearance, and the truth is that it’s hard to manage. But we have got some remedies that you can try to fight oily skin.

Home Remedies for Oily Skin

Try the home remedies mentioned below to get rid of oily skin.

1. Honey

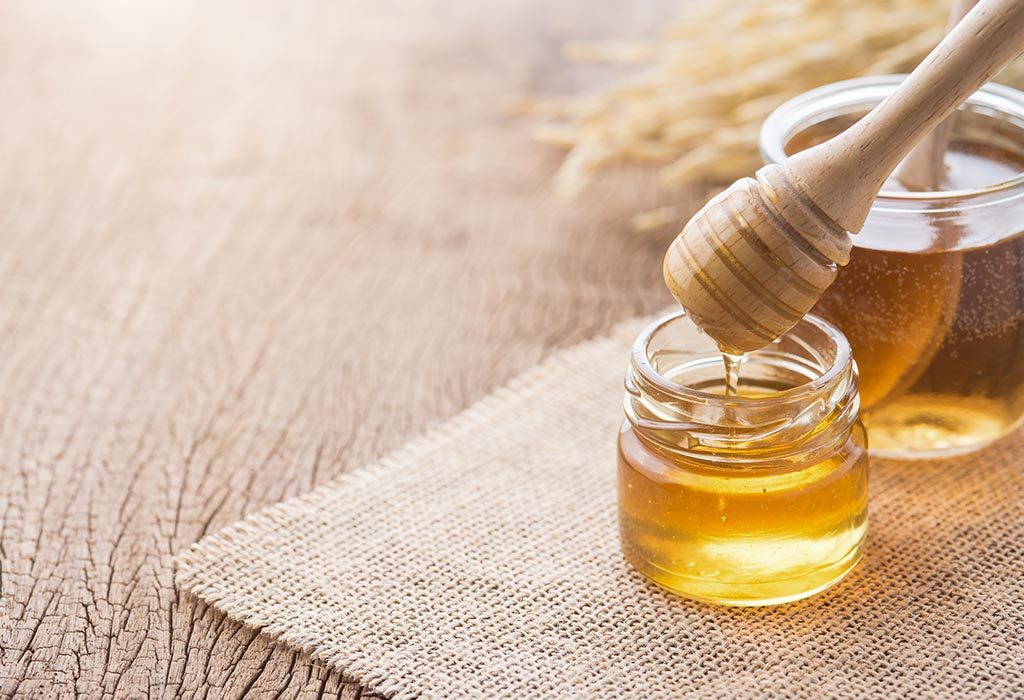
Applying raw honey on the face can help with oily skin. Honey has antibacterial and antiseptic properties, which can benefit oily and acne-prone skin. Furthermore, as honey is a humectant, it can keep your skin moist but won’t make it oily. Spread a thin layer of raw honey on your face and let it dry for about 10 minutes. Later rinse with warm water.

Honey

2. Oatmeal

Using ground oatmeal on your face can help absorb excess oil and can soothe inflamed skin. You can mix oatmeal with yoghurt, honey, or mashed fruits such as bananas, apples or papayas. You can even use a paste of ground oatmeal and water on your face to get rid of oily skin. Mix 1 tablespoon of ground oatmeal with hot water to form a paste. You can add honey to it if you like. Apply the mixture on your face and leave it on for 10-15 minutes. Later rinse with warm water and pat dry.

3. Egg Whites and Lemons

Egg whites and lemons can help tighten skin pores. Lemon can even help absorb oil from your face. Mix one egg white and one teaspoon of freshly squeezed lemon juice in a bowl and apply it on your face. Once it dries, remove it. Then wash your face with warm water and pat dry.

4. Almonds

Ground almonds can exfoliate your skin and absorb the excess oil. You can make an almond face mask by mixing 3 teaspoons of finely ground raw almonds with 2 tablespoons of honey. Apply this mixture on your face in circular motions and leave the mask on for 10-15 minutes. Rinse with warm water and pat dry.

5. Aloe Vera

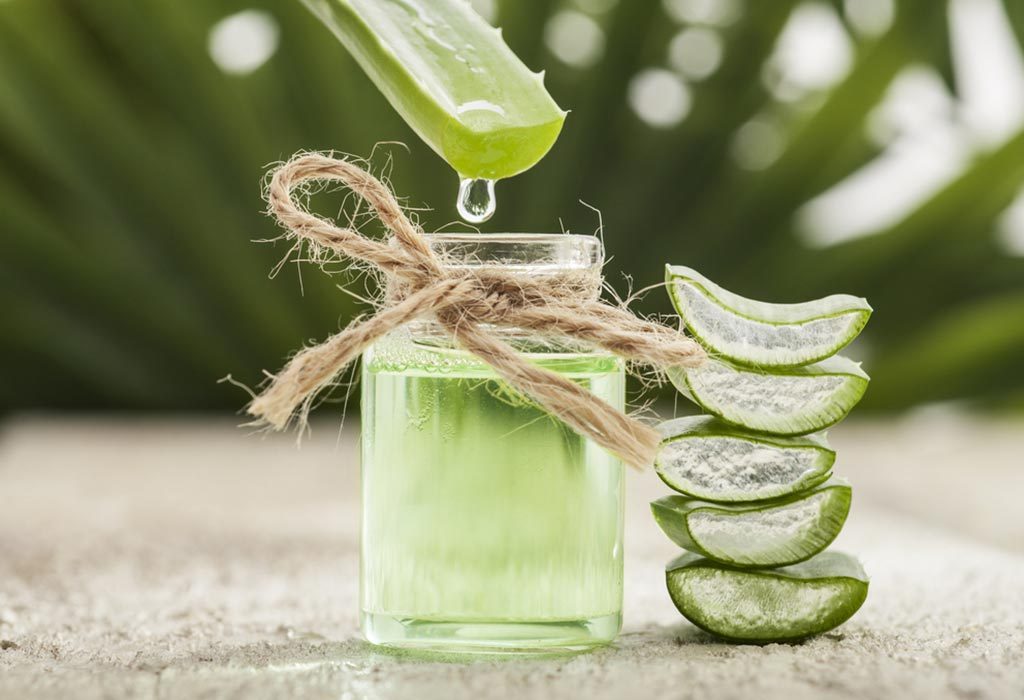
Aloe vera can help cure flaky skin caused by oil patches. However, aloe vera can cause an allergic reaction if you have sensitive skin. If you have never used aloe vera before, test it on your forearm. If you don’t notice any allergic reaction within a day or two, you can use aloe vera. Just apply a thin layer on your face before going to bed and wash your face the next morning.

Aloe vera

6. Tomatoes

Tomatoes contain salicylic acid which may help absorb excess oil and unclog the pores. To make a tomato mask mix one teaspoon of sugar with the pulp of one tomato. Apply in on your face in circular motions and leave the mask for 5 minutes. Rinse with warm water and pat dry.

7. Cucumber

Cucumber contains 90% water. It can hydrate and moisturise the skin without making it oily. It also has natural astringent properties which help in removing dirt and dead skin. You can rub a few slices of cucumber on your face before going to bed. Next morning, wash your face with warm water.

8. Apple Cider Vinegar

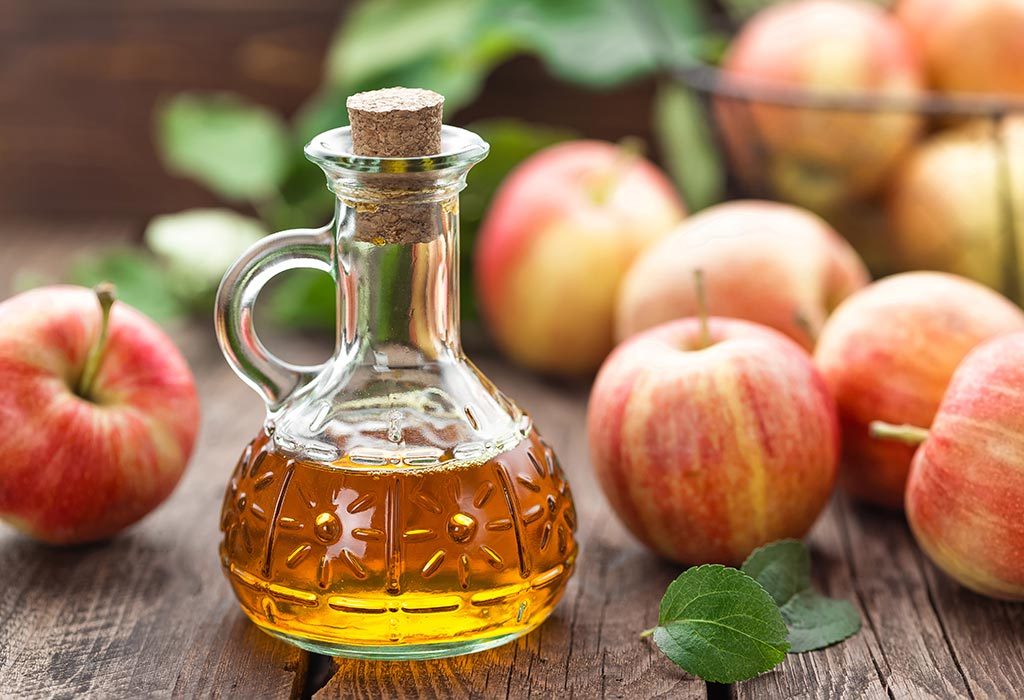
Apple cider vinegar can also help with oily skin. Organic apple cider vinegar contains enzymes and essential bacteria that are beneficial for the skin. However, you should always use diluted apple cider vinegar for your hair and skin. Mix one tablespoon of apple cider vinegar in a cup of water and drink every day before going to bed.

Apple cider vinegar

Some Other Tips to Take Care of Your Oily Skin

If you have oily skin, you will need to be extra careful when choosing products for your face. Read the tips given below to choose the right products for your skin. Also, find out how you can take care of your oily skin.

Read more 

Also read  How to Know What Allergies Are Causing Your Dark Circles

5 INGREDIENTS EVERY GIRL WITH SENSITIVE SKIN SHOULD INCLUDE IN HER SKINCARE ROUTINE ASAP

5 INGREDIENTS EVERY GIRL WITH SENSITIVE SKIN SHOULD INCLUDE IN HER SKINCARE ROUTINE ASAP

For most women, the process of trying out a new product is exciting; but if you’re blessed with sensitive skin, we bet you have a different story to tell. We understand that it can be difficult for you to predict which ingredient might cause their moody skin to act up

But should that deter you from trying new products? Of course not! By learning about a few key ingredients that are suitable for your skin type, you can switch up your skincare routine and level up your skincare game. To make the task easier for you, we’ve rounded up five ingredients that every girl with a sensitive skin type must own. Scroll down to check it out.

01. Aloe vera

One of the most gentle and skin-loving ingredients out there, aloe vera is suitable for all skin types (including sensitive skin). It contains vitamins, minerals and antioxidants that heal skin problems as well as combats dry and flaky skin. If you can’t obtain fresh aloe vera gel, there are several products infused with aloe vera that are readily available. The Lakmé 9 to 5 Natural Aloe Aqua Gel is a lightweight, non-sticky formula that soothes skin.

02. Honey

Brimming with antioxidants, honey is a humectant that locks moisture in the skin while also fighting bacteria and inflammation. Adding this ingredient in your skincare routine is super simple — apply directly onto the skin or add in a few other gentle ingredients to create a face pack for sensitive skin. Look for products that contain honey as the main ingredient.

03. Green tea

Green tea leaves are often referred to as the fountain of youth as it accelerates skin cell renewal. Loaded with catechins and antibacterial agents, the leaves of green tea can soothe inflammation and redness. This gentle ingredient is commonly found in body lotions and is perfect for anyone with sensitive skin type. The Vaseline Intensive Care Revitalizing Green Tea Body Lotion seeps deep into the skin, leaving it soft, supple and refreshed.

04. Shea butter

Shea butter is super nourishing and soothing; thus, perfect for sensitive skin. The high levels of essential fatty acids and vitamins in this ingredient protect the skin’s natural moisture barrier and prevent external stressors from causing problems like irritation, itching and inflammation.

……Read More…….

Read Also:  The Essential Building Blocks of Healthy Skin: The Environment, Collagen, & Peptides

How to Fix a Broken Nail: 4 Fast & Cheap Ways To Fix a Broken Nail

0

This tutorial will show you how to fix a broken nail at home. Using just a few simple tools, some patience, and our expert guide!

Your nails are on fleek and all of a sudden – broken nail! What’s a girl to do?! Whether you’ve got a tiny crack or a full on split, we’ve got the best ways to fix a broken nail at home! So before you go and bite that nail off, read this tutorial that will guide you through how to fix a broken nail!

Why Do Nails Break?

Brittle, fragile nails can be a sign of something serious. If you suspect something, it’s always best to consult your doctor. Often times, over-application of nail polish, fake nails, acrylics and gels can lead to fragile nails. If you see your nails starting to break and crack, give them a break from the aforementioned. Nails need to breathe, just like our skin needs a break from makeup.

Additionally, a lack of calcium can also lead to weak and brittle nails. Be sure to take calcium supplements if needed. Calcium is a crucial mineral for strong, healthy nails.

Lastly, make sure to moisturize every single day. Especially during the cold winter months, our skin and nails tend to get drier. It’s important to keep the skin around the nails hydrated and soft. Stay away from very hot water and hand sanitizers as they can weaken the nail bed and cause breakage.

Fix #1: Mend With Glue

Break a nail? If you only have a split rather than a completely broken one, you can easily mend it with some nail glue. Yes, nail glue DOES exist. If you don’t have it, you need to get yourself a bottle, especially if you have weak brittle nails that break easily!

Start by gently buffing the surface of the nail. Then, proceed to add about 2 coats of a fast drying nail glue such as Nail Bliss Brush-On Glue. Once the glue has completely dried, apply a base coat of clear polish to hold the crack in place.

Depending on the severity of the split, you may have to do this 2-3 times over the course of a week. Once your broken nail has fully recovered, take care of your nail bed. Do this by moisturizing it and apply a nail growth serum.

Fix #2: Apply a Fake Nail

If you’ve broken an entire nail, there is not much you can do except for applying a fake nail! It’ll give your nail underneath a little bit of time to grow and your manicure won’t be out of whack! Just apply a press-on nail over the broken nail until your natural nail grows out. It’s easy, it’s cheap, and your manicure won’t skip a beat!

Of course, be sure that the fake nail you’ve just applied matches the length of the rest of your nails! Looking for some nail art ideas? Check out these 30 summer nail designs!

Fix #3: Silk Wrap

If your nail is almost completely off and just hanging on by a thread, try the silk wrap method! Start by applying a clear GEL top coat and stick on a piece of silk wrap. Buff the nail and apply another layer of gel coating. You can also purchase pre-made silk wraps, such as Dashing Diva’s Gloss Ultra Shine Gel Nail Strips. Just stick them on directly over the broken nail as you would a piece of tape!

What is a nail silk wrap?

A nail silk wrap is exactly what it sounds like! A piece of silk fabric that’s very thin and designed to hold together delicate things, such as your nails. Read more

Also read: Vaseline and Egg White Mask for EVERYTHING

The Essential Building Blocks of Healthy Skin: The Environment, Collagen, & Peptides

0

What are the essential building blocks of healthy skin? One by one, we’ll take a look at what exactly it takes to get beautiful, radiant, and most importantly, healthy skin. And, as you may have already guessed, it all starts from the inside out

So then, what are the essential building blocks of healthy skin? In this article, we’ll explore the 5 essential buildings blocks of healthy skin and answer the most pertinent questions.

Building Block #1: What You Put on Your Skin and What You Don’t

Did you know that your skin absorbs about 60% of what you put on it? This means that if you use a lot of hand sanitizer or abrasive hand cleansers, you’ll likely damage your skin. Frequent use of these, as well as household cleaners, can damage the skin microbiome and cause a bacterial imbalance. Over washing and sanitizing could lead to eczema, psoriasis, dandruff, acne, and fungal infections. Basically, try not to strip your skin of the good bacteria!

Building Block #2: Eat Healthy and Drink Lots of Water

This comes as no surprise to anyone that eating a healthy, balanced diet and drinking plenty of water results in healthy skin. A well balanced diet comprised of lean meats and fish, colorful range of fruits and vegetables, and nuts and seeds is super important when it comes to your skin’s health. Also, be sure to avoid processed foods and sugar which can actually aggravate skin and possibly cause breakouts. Lastly, drink at least 8 glasses of water per day, and stay away from sodas and juices which are loaded with sugar.

Building Block #3: The ABCs of Vitamins

Healthy, radiant skin starts from the inside out, and nothing is better for your skin than vitamins A, B, C, D, & E. You can find these in fresh fruits and veggies, oily fish, and nuts and seeds. You can also get your daily vitamins through supplements.

Building Block #4: Sun is Important

Although the sun can be extremely harmful to the skin, it’s actually super important that your skin receives about 20 minutes of sun each day. This is because our skin and our bodies need vitamin D. So unless you’re taking a vitamin D supplement, it’s imperative that you slather on some good quality sunscreen and soak up the sun for 20 minutes. Choose either morning or late afternoon sun, as mid-day sun can be very powerful.  Read More……..

Also Read: 3 Easy-To-Make Homemade Deep Conditioners for Natural Hair

TAIWANESE BEAUTY: EVERYTHING YOU NEED TO KNOW TO GET FLAWLESS SKIN

0

TAIWANESE BEAUTY: The Eastern part of the world is a goldmine for skincare enthusiasts. From detailed and meticulous skincare routines to the use of really unexpected ingredients and tools, their take on beauty never fails to leave us pleasantly surprised. Well, the latest country to be influencing skincare trends the world over is Taiwan.

1. What exactly is T-beauty?

The main difference between K-beauty and T-beauty is that the later is a lot less complex and time-consuming. (Busy girls, rejoice!) Taiwanese beauty is more deeply rooted in traditional Chinese medicine and incorporates the use of natural yet potent ingredients for amazing results.

2. The T-beauty skincare steps

1. Cleanse

Just like everywhere else, Taiwanese women always start their skincare routine by thoroughly getting rid of all the dirt, makeup, sweat and oil that may have accumulated on the face. They use cleansers with natural ingredients like soy milk, white tea, bamboo extracts, etc. to not just cleanse away the impurities, but also leave the skin feeling super soft, supple and elastic.

2. Toner

Taiwanese women know the importance of toner in their skincare routine and use it post-cleansing without fail. Enriched with ingredients like tea tree oil, hyaluronic acid and a host of plant extracts, these toners help to prevent breakouts, regulate sebum production and help other skincare products penetrate the skin better.

3. Moisturise

The secret to soft and supple skin that is a trademark of Taiwanese women is regular moisturizing. They use a pea-sized amount right after toner to hydrate, nourish and condition their skin. They also believe that a thin layer of hydration preps the skin to soak in all the goodness from the sheet mask to follow.

Read More..

Also Read:  Skin Conditions: Teenage Acne

How to Know What Allergies Are Causing Your Dark Circles

0

Pollen Puffiness

Every spring, plants release their fragrant pollen into the air. Unfortunately for some people, those pretty flowers signal severe hay fever symptoms, like congestion, runny nose, itchy skin and watering eyes. Visible blood vessels and puffiness around the eyes tend to pop up when severe congestion lasts for days on end, meaning relentless dark circles. Also known as allergic rhinitis, many people also experience this dark circle–inducing allergy around the dander of a family pet or high levels of dust.

Mold Mayhem

Moisture develops in areas like the kitchen, bathroom and basement of your home, making the ideal environment for mold to grow. If you walk into your bathroom and start sneezing immediately, you might be dealing with this irritant. While relatively harmless in most cases, the tiny spores mold releases can cause congestion, itchy eyes, runny nose and a scratchy throat. Stuffy nasal passages may cause decreased blood flow and puffiness around the eyes. Just like hay fever, these symptoms build up over time to make the perfect dark circle cocktail.

Irritating Skincare

You might want to take a second look at the concealer you use to cover up dark circles, especially if you have sensitive skin. Many soaps, facial cleansers and foundations contain alcohol, glycol, talc and other additives that can leave skin cells inflamed, chapped and stressed when applied. The cells around the eyes are especially sensitive to harsh ingredients, which can lead to puffiness, redness and inflammation under the eyes, creating that dreaded dark circle effect. Many times this type of allergy, also known as contact dermatitis, recedes once the offending irritant is removed and the skin has a chance to heal.

Food and Medication Allergies

Those dark circles could be sending you a message about your routines at the dinner table and the medicine cabinet. Many people suffer from food allergies, which means the body has an immune system reaction to a particular food, like nuts or dairy. Some allergic reactions cause itchy, irritated eyes, nasal congestion and swelling around the throat and nose, all of which encourage the development of dark circles.

Read more 

Also read Permanent Makeup