Home Blog Page 386

Benefits Of Curd For Hair

Benefits Of Curd : Cruel summer months are upon us. To beat the heat, we turn to several cooling agents; take curd or dahi as an example. Curd or unsweetened yoghurt, packed with vitamin B5, proteins and calcium, is extremely beneficial for our health. But we need curd for hair as well, not only to keep our scalp hydrated, but also to fight hair loss and dandruff. Here’s a lowdown on why curd is absolutely essential for hair.

1. Is Curd A Good Conditioner?

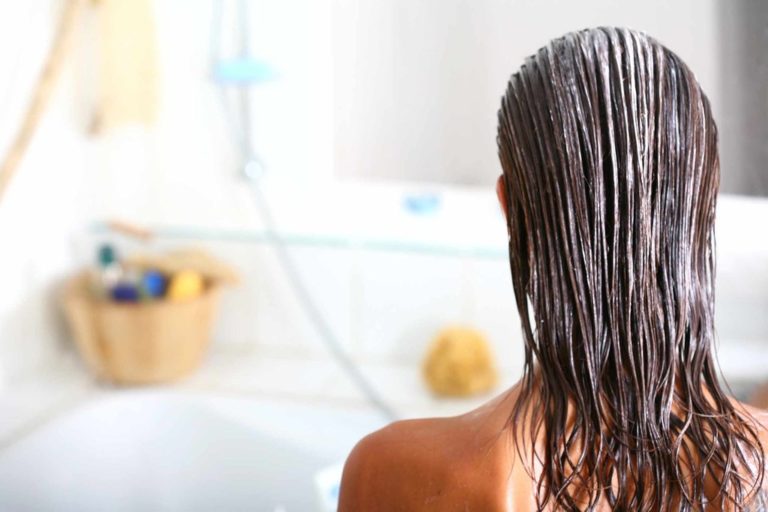
Curd contains fats that can help moisturise your hair. In other words, curd is a highly recommended natural conditioner for your hair. The lactic acid in curd or yoghurt can really help in softening your tresses. The following hair masks with curd can be further helpful in conditioning your hair.

Curd + olive oil + apple cider vinegar (ACV)

This hair mask recipe is ideal for deep conditioning , particularly when the cold winter air, and excessive styling, deprive your strands of moisture. You need 1 tbsp of olive oil, 3 tbsp of curd and half a tsp of apple cider vinegar. Take a small bowl and mix the ingredients thoroughly. When you’re ready to use this mask, liberally apply the mixture to the lengths of your hair, avoiding your scalp. Wait for about 30 minutes. Rinse off with lukewarm water, and shampoo and condition your hair as usual. Use this mask at least once a month to ensure your hair stays strong, healthy and hydrated.

Curd + besan (gram flour) + olive oil

This has power ingredients for hair. While olive oil , which is full of vitamins A and E, will help make hair feel smooth, besan will help in strengthening the roots. In fact, this mask is perfect for dry hair. Mix 6 tbsp each of besan and curd along with 3 tbsp of olive oil. Apply mixture on dry hair . Wait for 20 minutes and shampoo off.

Tip: You can also apply just fresh curd on your tresses. Wait for about 15 minutes shampoo off.

Read More

Also Read: GAME-CHANGING INTERNATIONAL BEAUTY HEROES TO INCLUDE IN YOUR BEAUTY ROUTINE STAT

GAME-CHANGING INTERNATIONAL BEAUTY HEROES TO INCLUDE IN YOUR BEAUTY ROUTINE STAT

Growing up a desi kid, we’ve always been taught to look into our kitchen for instant beauty solutions. Multani mitti for acne, besan for glowing skin, amla for stronger hair… the list goes on. And just like in India, women around the world reach out for certain readily available ingredients in their pantry for instant solutions for all their beauty woes.

From Morocco to Africa to France, each country has something really unique and beneficial to offer that can up your beaut game. We’ve rounded up five such beauty heroes from around the world that you should seriously consider adding to your beauty routine. Take a look…

Morocco — Argan oil

Unless you’re living under a rock, you’ve already heard about the multiple benefits of argan oil for hair and skin. From delivering intense nourishment to dry and dehydrated skin to straightening your hair and making it softer and more manageable — there’s so much this beauty elixir can do for your beauty game, which makes it an absolute must-have.

India — Turmeric

If you’re a DIY skincare enthusiast, you have undoubtedly, at some point, used turmeric in your recipe. From brightening the skin to healing wounds and preventing infections, this commonly available spice found in most Indian kitchens is the answer to a lot of your skin woes.

Japan — Tsukai oil

Let’s be honest: Japanese women have envious skin and hair. And to what do they owe their flawless skin to, you ask? A locally produced ingredient called tsukai oil also known as camellia oil. Lightweight in texture, this oil has the ability to penetrate deeper into your skin, hair and scalp to deliver it with intense moisture. Applying this oil once a day is a great way to moisturize severely dehydrated skin and keep your hair looking healthy, shiny and super strong.

Read More

Also Read:How to Find the Right Clay Cleanser for Your Skin Type


Smart Mouth: 13 Ways to Keep the Dentist Away

0

Our mouth experience so many pleasurable activities: kissing, tasting, talking, laughing. But they can also be a site for excruciating pain, from toothaches to gingivitis to those pesky, stress-related cold sores. Here’s the good news: Ayurveda offers simple, natural oral remedies and hygiene tips that you can try at home today. They’re easy to do and they’ll always leave a smile on your lips.

5 AYURVEDIC ORAL HYGIENE TIPS

1. GARGLE WITH WARM SESAME OIL

To beautify your teeth and gums, gargle with warm, organic, unrefined sesame oil (organic like this one ideally), then hold it in your mouth for one minute before expelling it. Next, apply some oil to your index finger and gently massage your gums. This whole process (the swishing and massaging) is called kavala. It can prevent cavities and soothe an impacted wisdom tooth, receding gums, and sensitive teeth.

2. USE A TONGUE SCRAPER

In ancient ayurvedic literature, the tongue is called the organ of taste, speech, and cognition (karmendriya). Tongue scraping is called jihva nirlekhana and it provides a host of benefits. To begin with, your tongue contains hundreds of taste buds that process six different tastes: sweet, sour, salty, bitter, pungent, and astringent. Gentle tongue scraping activates all of these taste buds and releases the six different tastes in your blood. (And that’s a good thing.) In addition, the tongue is associated with the thyroid, lungs, heart, kidneys, stomach, and colon. By scraping the tongue, you not only maintain a healthy mouth, but on a subtle level, you also maintain healthy viscera. Plus, jihva nirlekhana removes ama (toxins) and dead bacteria, improves the flavor of your food, reduces bad breath, and clears your mind.

So, how do you do it? Using a stainless steel tongue scraper, gently scrape the entire tongue from the back forward for 7 to 14 strokes every morning, and observe the benefits for yourself.

Read More

Also Read: EAT YOUR WAY TO DEWIER AND GLOWING SKIN

How to Find the Right Clay Cleanser for Your Skin Type

How long have you been using the same facial  clay cleanser to wash your face? Well, there’s never been a better time to switch things up. With so many different types of facial cleansers available, you’ve got plenty of options—so if you’re ready to make a change in your skin care product lineup, you’re in luck. Today, we’re here to talk to you about one type of facial cleanser in particular—and that would be the facial cleanser. Below, learn all about the  Pure-facial Cleanser line and how to find the right one for your skin.

HOW TO FIND THE BEST CLAY CLEANSER FOR YOUR SKIN

 The Pure-Clay Cleanser line consists of three daily facial cleansers that are formulated with three different clays. These clay cleanser formulas transform from clay to mousse and help remove everyday impurities from the surface of skin without over-drying. Without further ado, here’s how to find the right facial cleanser for your skin type.

Pure-Clay Purify and Mattify Cleanser:

Does your skin tend to look extra-shiny by midday? Then consider giving this facial cleanser a chance. Enhanced with eucalyptus, this facial cleanser formula is suitable for all skin types. It goes beyond daily cleansing to deep clean and remove excess oil for skin that feels refreshed. Immediately, skin is purified of dirt, oil, and pollution and has a matte .

Pure Detox and Brighten Cleanser:

 It’s time to hop on the charcoal beauty trend! It goes beyond daily cleansing to deep clean and remove excess oil for skin that feels refreshed. Immediately, skin is purified of dirt, oil, and pollution and has a matte .

Pure-Clay Exfoliate and Refine Cleanser:

 The facial cleanser formula, which is enhanced with red algae, goes beyond daily cleansing to help exfoliate the surface of your skin.  Read More…………

Also Read: EAT YOUR WAY TO DEWIER AND GLOWING SKIN

EAT YOUR WAY TO DEWIER AND GLOWING SKIN

DEWIER: You are what you eat. It is no secret that what we eat has a direct impact on our body, it also reflects on our skin and hair. Therefore, nutritionists and skin experts always encourage people to eat healthy, skin benefiting foods. While external hydration is necessary, including healthy vitamin rich foods help keep skin soft and moisturised.

Here are a few things to include in your diet for soft and younger looking skin naturally.

Avocado

High in monounsaturated fats and brimming with nutrients, including avocado in your diet will give you healthy and supple skin. Its creamy consistency makes it DEWIER easier to add to a variety of preparations or apply directly on skin for some quick hydration.

Egg yolk

An excellent source of vitamin A, egg yolks helps form new skin cells. It is ideal for who suffer from skin ailments and acne.

Walnut

Healthy, radiant and  is just a handful of walnuts away. Raw walnuts contain omega-3 fatty acids and antioxidants that combat free radicals. It also contains anti-inflammatory properties which keep pimples at bay.

Berries

Berries are loaded with antioxidants that prevent skin’s collagen from damage caused due to sun exposure and pollution. Include blueberries, raspberries, goji berries and acai berries in your diet.

Citrus fruits

Vitamin C fights aging like no other. Eating raw to lightly cooked citrus fruits protects skin’s elastin to give you smooth and younger looking skin.

Read More

Also Read: SCORE A SALON-LIKE FACIAL AT HOME WITH THIS 7-STEP GUIDE

Beginner’s Guide to Natural Preservatives

One of the most confusing and misunderstood topics when it comes to making cosmetics and other homemade products, knowing how and when to use natural preservatives is an important part of making things yourself.

Over the course of the last several years, I have gotten many and a wide variety of questions about how to preserve homemade products, and what natural preservatives can (should) be used.

Why use a preservative?

Toxic ingredients aren’t the only danger that can be lurking in our cosmetics.

Microbes can also form there, whether those cosmetics are homemade or not!

The main microbes that we need to worry about when making our own products are bacteria, yeasts, and fungi such as mold. Mold is normally quite obvious to see, making it easy to tell when you should toss a certain product affected by mold growth.

Bacterial growth can be invisible

On the other hand, bacteria can form and proliferate without us being able to see them. A normal looking drop of water can have thousands (millions?) of bacteria.

While not all bacteria are harmful, some of the bacteria that can form in our homemade cosmetics can cause infections and can make our skin break out. Bacterial infections can cause folliculitis, which many people could wrongly attribute to acne or allergic reactions.

It can even become more serious than that, though. The bacteria that form in our cosmetics could make us deathly ill.

When do you need to use a preservative?

There is a lot of confusion about when and why to use preservatives. Not all homemade products necessarily need preservatives. In fact, in some cases, it isn’t effective to use your normal preservatives.

Water-based ingredients

Any time you add water-based ingredients to a recipe, the resulting product will be more prone to microbial growth. Read More……………..

Also Read: SCORE A SALON-LIKE FACIAL AT HOME WITH THIS 7-STEP GUIDE

SCORE A SALON-LIKE FACIAL AT HOME WITH THIS 7-STEP GUIDE

0

No woman can ever say no to a good hour of facial and spa time! The multistep facial treatment cleanses up your skin, stimulates skin cells, hydrates and nourishes it thus giving you younger looking, radiant skin. The fact that it relieves stress and makes skin glow like a bulb is just amazing. Isn’t it?

Step 1: Cleanse well

First and foremost, start with a clean canvas. It is really important to cleanse your face thoroughly to remove any dirt, makeup or product build-up before you start with your facial. Wipe off any makeup residue from the face using cleansing wipes. Then use an oil-based cleanser or any facial oil like coconut oil or olive oil and gently clean your skin surface. It will help get rid of every ounce of dirt and give you a clean slate to work on.

Step 2: Exfoliate

The second step is to exfoliate. Exfoliating skin with a mild scrub helps remove dead skin cells, polish the skin and making it brighter. Take a pea-sized amount of your face scrub and rub it gently onto face and neck in a circular motion. If you are blessed with oily skin, use St. Ives Gentle Smoothing Oatmeal Scrub & Mask. For dry skin, we recommend St. Ives Energizing Coconut & Coffee Scrub. Splash the scrub off with lukewarm water.

Step 3: Massage your face

No facial is complete without a facial massage and, let’s be honest, this is the most fun part of the treatment. This step is essential to increase blood circulation and improve muscle tones, which keeps skin firm and bright. Dampen your palms and take a small amount of face massage cream. Start with the middle of your forehead and work towards temples.

Read More

Also Read: ALL THE SUNFLOWER SEEDS BENEFITS FOR SKIN AND HAIR

ALL THE SUNFLOWER SEEDS BENEFITS FOR SKIN AND HAIR

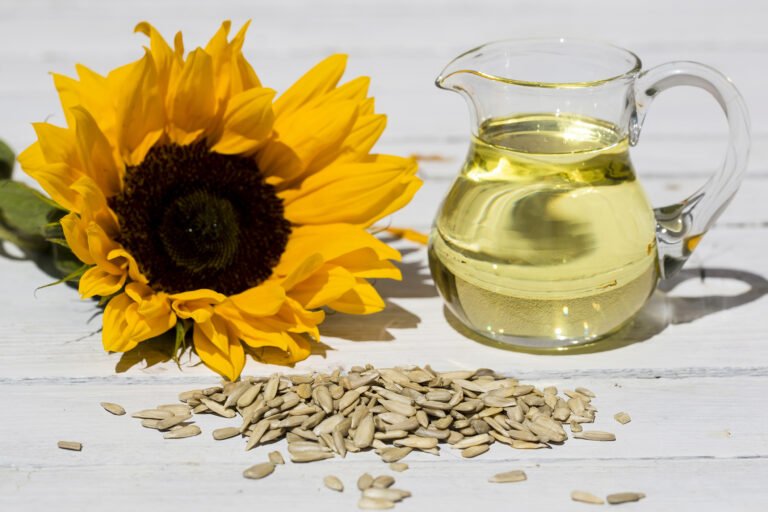
BENEFITS: One of the healthiest things you can include in your diet are seeds. From adding them to your breakfast bowls, smoothies, salads, curries to simply munching on them as a snack, there are a lot of ways to incorporate seeds in your daily diet. It is important that you do so, because seeds are usually packed with a lot of nutritional value, essential vitamins, and energy-boosting properties.

Sunflower seeds benefits for skin:

Interesting, isn’t it? One such seed to have caught our attention for being a rich source of vitamin E is sunflower seeds. Although these seeds have been used for centuries in various cuisines and medicines, it is only recently that people have started to recognize sunflower seeds for their beauty benefits as well.

Prevents premature ageing:

One of the best benefits of eating sunflower seeds is that it is brimming with selenium, which is an important component when it comes to repairing damaged cells. It also contains a high percentage of vitamin E and that is vital to produce collagen and elastin. These keep your skin taut and firm by preventing the appearance of fine lines and wrinkles to maintain a youthful glow.

 Reduces acne and inflammation:

Another great benefit of sunflower seeds is that they are chock-full of fat-soluble antioxidants. This helps fight oxidative damage and improve your skin’s barrier function. This is why it plays an important role when it comes to fighting inflammation, redness and sensitivity that usually comes with having temperamental, acne-prone skin.

Read More

Also Read:The Beauty Benefits of Natural Oils

How to Shape Eyebrows -6 Tips for the Perfect Eyebrow Shape

I have never, ever, ever tweezed my eyebrow shapes at home. I’ve heard (and, well, seen) so many horror stories of tadpole brows that I quickly found myself in a committed relationship with my brow shaper. It just wasn’t worth the risk—that was, until appointments became off-limits with shelter in place. Here some eyebrow shapes :-

STEP 1: BRUSH THEM UP

First thing’s first: You need to figure out what you’re working with. Run the spoolie through clean, dry brows, brushing the hairs up. “This will show you if there are any super-long hairs or if there are any holes that maybe brow hairs are covering up when in place,” Healy says.

STEP 2: A LITTLE TRIM

I was scared, too. Until Healy shared his fool proof technique. “Only trim the front area of the brow, and want to trim one hair at a time at a downward angle,” he shares. “The downward angle is important, because you want your brows to be fringy, not in a straight line.”

Hold the spoolie brush in one hand, and the scissors in the other. When you push the spoolie through the brows it drags hairs up—that way you can see which are too long and easily cut them without risking over-snipping. “Remember, length isn’t bad,” Healy says. “Actually, it’s necessary sometimes to help get the perfect brow shape. You will probably only trim a few hairs, only the ones that are not cooperating.”

Pro tip: If you’re nervous, run a little bit of gel through your hair and form the shape you want. This is an easy way to identify exactly what to trim. Then wipe it off again for the next step.

STEP 3: CHECK YOUR ALIGNMENT AND TWEEZE AWAY STRAYS

It’s anatomy time. All you need to figure out where the brow should start, arch, and end is your tweezers. “They are your guide,” Healy says. “Pinch your tweezers together and it makes a straight line that will help you know the perimeter of your brows.” Once you’ve used them identify, it’s time to remove the hair that’s out of place.

IMPORTANT: NO MAGNIFYING MIRRORS!

Your brows are a total Monet. If you’re tweezing brows from super up-close, you won’t be able to see the bigger picture—and something that maybe looks wrong in a magnifying mirror is necessary for the structure of the brow.

First, hold it flush against the bridge of your nose. The vertical line shows where the head of your brow should start. “This doesn’t mean get rid of any sprouts that hang over the other side of the line,” Healy cautions. “This might be the time to get those scissors out again and use them to do a little bit more trimming.” Read More……………….

Also Read: The Beauty Benefits of Natural Oils