Home Blog Page 371

Top 5 Tips for Healthy Skin

0

As the fight for flawless skin continues, today we bring you the top 5 tips for healthy skin. When it comes to skin care, you can either love it or hate it. Taking good care of your skin can be a bit of a challenge and take some time, but it’s well worth it in the end! Healthy, glowing skin is just 5 tips away!

#1. Drink water 

Keeping your body hydrated is one of the most important things you can do and it can completely transform your skin! Remember that your body is at least 70% water and if you’re not getting enough it can cause some serious damage such as chronic headaches, weight gain and our least favorite, parched, inflamed skin. Go for some water instead of soda and try to get at least 6 glasses a day. Within a few days you will notice a big difference.

#2. Change your pillow cases

Don’t forget that when you sleep on the same dirty sheets, the bacteria easily gets soaked into your skin causing blemishes and blackheads. It is important to change your sheets because even if you think they’re clean, microbes and dust still occupy the space which will clog your pores and leave you with a very unhappy epidermis. Change your sheets (especially your pillowcases) every 3-4 days.

#3. Stay away from chemical filled products

Your top shelf, shiny gold topical skin care products may be able to provide you with the best fragrances and colors there are in this world but don’t be fooled – those products are generally full of chemicals that we don’t even know how to pronounce. These chemicals are made to work for a bit but after a while dry out your skin and make things worse. I promise you that switching to more natural, organic products will give you the results you’re looking for, three fold.

#4. Know when to wash your face

Washing your face is super important in the morning when you wake up, after the gym, or any type of sweat, and before you go to bed, but washing it too often can actually dry the skin and rid it of the ‘good’ bacteria. Our skin is very sensitive and letting it stay too oily or too dry for too long causes many different problems. It is best to wash your face only when you need it to allow the good oils and bacteria a chance to flourish.

#5. Don’t Pick!

The most important tip by far would be to not touch your face. Our fingers and finger nails are full of bacteria, dust, and dirt from our day to day lives; rubbing them all over your face only causes more irritation and filth. Squeezing, popping, picking and scratching our blemishes actually pushes the bad bacteria deeper into the skin causing more redness, pain and breakouts.

Stick with these 5 tips for healthy skin and trust us when we say, you will notice a difference in no time!

Read more 

Also read  10 Best Essential Oils For Hair Problems
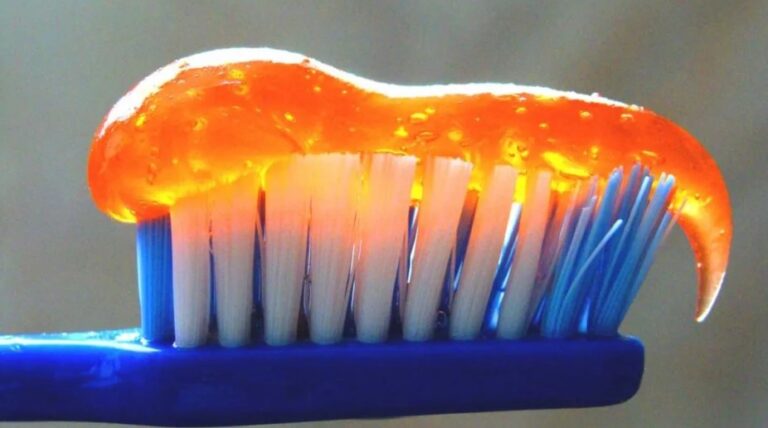
DIY Antibacterial Toothpaste

0

Our mouths are very complex, important parts of our bodies, and they are constantly taking a beating from all the food and beverages we force into them. Even though they are strong and pretty much clean themselves, it is important to give them a thorough clean and sterilization. Bactria flourishes in conditions like the ones created in our mouths and causes tooth decay, bad breath and other health problems. Brushing every day is not always enough to keep the bad bacteria out, this is where this DIY antibacterial toothpaste comes in!

An all natural toothpaste that not only fights bad breath and bacteria, but also whitens and prevents decay!

DIY Antibacterial Toothpaste

Ingredients:

  • 1 tsp baking soda- A natural bleach. Helps remove stubborn yellow plaque and strengthen the teeth.
  • 1 tsp hydrogen peroxide – Disinfects, sterilizes and massively reduces microorganisms and color when mixed with baking soda.
  • 1 drop of peppermint oil – Another disinfectant that works well to remove extra bacteria and leaves the breath fresh.

Directions:

  1. Mix the three simple ingredients together in a small container.
  2. Apply to tooth brush and brush the entirety of your mouth thoroughly for about 2 minutes.
  3. Rinse with cool water.

Benefits:

  • This DIY antibacterial toothpaste leaves the mouth fresh and gets rid of bad breath.
  • It also disinfects and helps free our mouths of all the built up plaque and gunk from the crevasses of the teeth and gums.
  • Doing this frequently will whiten your teeth by removing the yellow layer of the enamel and giving it a shine.

Disclaimer: Don’t use it every day as these products are harsh when used together. This mix is best if done once every 2 to 4 weeks. It should be done at night so that the teeth have a chance to rebuild any lost good bacteria or enamel.

Read more 

Also read  Coffee for Hair – Benefits, Tips, and Side Effects

DIY Setting Spray: How to Make Your Own Makeup Setting Spray

0

We can make our own scrubs, our own face masks, and hair masks, but what about a DIY setting spray? Yep, you can make that too! Why spend your hard-earned money on store-bought products that are laden with harsh chemicals when you can easily make your own?

Jump to Recipe

This super simple DIY makeup setting spray recipe is perfect for those with sensitive skin as there are no harsh chemicals, alcohols, dyes, or perfumes. Just 100% natural ingredients that are actually good for your skin. We tried this recipe out and we swear by it! Just a couple of sprays and your makeup will stay nice and put all day and all night long. Give this homemade setting spray a shot and we promise you won’t regret it!

DIY Setting Spray Recipe

This DIY setting spray works really, really well in hot and humid weather and will help your makeup last all day long! Because of its ingredients it also hydrates, keeps oil away, and prevents breakouts. It’s actually also anti inflammatory, and anti aging as it helps prevent wrinkles and fine lines, and also heals the skin all at the same time! Can you say bonus?!

Ingredients:

Benefits of DIY Setting Spray:

Aloe Vera Gel: A naturally healing ingredient, aloe has an abundance of benefits, especially when it comes to the skit. It helps reduce irritation, redness, dryness, and also helps with inflammation. When applied directly to the skin, aloe vera gel can heal a number of things including eczema, rosacea, psoriasis, and severe breakouts.

Witch Hazel: A natural astringent, witch hazel is a powerful medicinal herb, that when used on the skin can help shrink pores and help with oily/acne prone skin. Also helps to reduce inflammation and soothe irritation and redness. Witch hazel can also help balance the skin’s pH and fix uneven skin tone.

Rose Water: Another natural astringent, rosewater is a gentle toner that gets rid of dirt, impurities, and balances the skin’s pH. It’s perfect for those with dry and/or sensitive skin as it’s not very harsh and will also help with inflammation.

Lavender Essential Oil: A natural anti-inflammatory ingredient, lavender oil helps to reduce redness in the skin as well as blotchiness. Also helps with oily and acne-prone skin by eliminating bacteria. Use lavender essential oil if you have dry skin. Read more

Also read: Cooling Cucumber Bath With Epsom Salts During Summer

4 TOMATO MASKS TO PROTECT YOUR SKIN IN WINTER

0
TOMATO MASKS: Natural ingredients arguably provide your skin with the best results, sans any side effects. A tomato face mask can give your skin complete protection from winter dryness and a host of other skin concerns. Tomatoes are rich in antioxidants and help in improving the levels of circulation in your facial tissues, thereby giving your face a natural blush. Here’s how you can protect your skin in the winters with the help of some ripe red tomatoes.

Tomato and honey

Cut open a tomato in half and slice it up after all the seeds have been scooped out from within. Mash the slices to form a  fine paste and then add a few spoons of honey to it. Apply this paste as a face mask and leave it on to dry for the next 15 minutes. Then, you can wash your face with lukewarm water, using a gentle face wash(TOMATO MASKS).

Tomato and turmeric

Extract all the seeds from within a tomato and mash it so as to form a fine paste. Add two to three teaspoons of turmeric to it and mix thoroughly till the texture of the paste turns even. Apply the paste onto your face and your neck region and leave it to dry. Once the paste has dried completely, wash it off with lukewarm water. You will observe a remarkable change in your skin tone and a reduction in your blemishes.

The mask makes your skin fairer and even-toned, while also reducing the appearance of fine lines and wrinkles. On account of the medicinal properties of its ingredients, the mask can even help in preventing acne and certain skin infections.

Read More

Also Read: WORLD MILK DAY: 5 WAYS TO ADD MILK TO YOUR BEAUTY ROUTINE

Aloe Facial Cleansing Foam Holika Holika Dupe

If you’re a lover of all things beauty, you’ve no doubt heard of Holika Holika Aloe Facial Cleansing Foam! And if you haven’t…well, it’s taking the beauty world by storm! This deep cleanser contains pure aloe vera left juice that turns from gel to foam, and its reviews are stellar!

But, if you’re like most people are your beauty arsenal is just a little too crowded and your wallet too thin, no need to fret, because we’ve come up with a dupe! This homemade aloe cleanser is a replica of the Holika Holika cleanser and (we believe) works just as well! Of course you’ll need to get your hands on raw, all natural aloe vera gel, but that’s fairly easy to do!

Aloe Facial Cleansing Foam Holika Holika Dupe – Recipe

Ingredients:

  • 1/4 cup distilled water
  • 2 tbsp fresh aloe vera gel (see here how to make aloe vera gel)
  • 1/2 cup liquid castile soap
  • 1 tbsp jojoba oil
  • 5 drops watermelon seed oil
  • 10 drops cucumber seed oil
  • 5 drops lotus essential oil

Directions:

HOW TO CREATE THE CLASSIC ROSEBUD LIP LOOK

HOW TO CREATE THE CLASSIC ROSEBUD LIP LOOK

If you’re looking for the ultimate makeup inspiration,we have a fabulous option right here — rosebud lips! Originating in the 1930s, the look has evolved into the go-to lip look for a fuller pout and youthful, almost childlike charm that is unmatched by a neatly drawn matte lip!

Here’s a step-by-step guide on how to create the rosebud lip!

Step 01: Prep

Classic rosebud lips look are supposed to be sleek, even and glossy. As such, make sure your lip is well-scrubbed and moisturized; this will keep the lipstick from bleeding. Also, always remember to exfoliate your lips in a circular motion to avoid damaging them.

Step 02: Give it a natural flush

Use the red lipstick, or any complementary shade, and dab it onto your lips using your fingers to give it a natural flush. Use your ring finger to dab and rub; this will give it an authentic look. How? Well, because nobody had access to lip brushes back then!

Step 03: Line your lips

Use a lip liner in the same colour as your lipstick and over line your lips. Use gentle, sketch type movements to really blend the liner pigment with the lipstick. Focus on accentuating the cupid’s bow.

Step 04: Gloss!

As the final step, use a clear lip gloss in the centre of your lips to give it the illusion of being plumper and fuller. Purse your lips once and you’re done!

…..Read More….

Read Also: DIY gram flour remedies to combat pigmentation and get clear skin

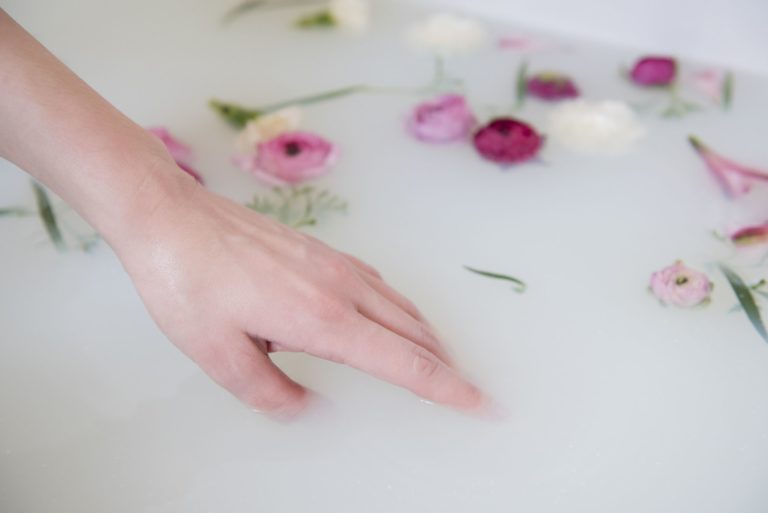
WORLD MILK DAY: 5 WAYS TO ADD MILK TO YOUR BEAUTY ROUTINE

0

WORLD MILK DAY: Milk is considered to be one of the most sacred foods in the Indian culture. Sipping milk offers a wide range of benefits to the body and bones but did you know including milk in your beauty routine can completely transform your skin? 1st June is celebrated as World Milk Day, so we’re taking the opportunity to show you how to reap maximum benefits out of this power packed ingredient.

As a foot soak

Dry and cracked heels are a common skin problem and if you’re looking for natural way to soften your heels here’s one.

Use: In a foot soak tub add 4 cups of warm water and 2 cups of warm milk. Rub your cracked heels with a pumice stone and wipe off with a towel.

For cleansing

Milk is an excellent cleansing formula, it removes all the trapped dirt and oil without disrupting the natural moisture balance of your skin. It also unclogs pores preventing blackheads and acne.

Use: Take a clean cotton ball and dab it in raw milk. Massage face with this in circular motions for five minutes and then wash off with warm water.

For exfoliation

Rich in AHA (alpha hydroxyl acid), milk helps remove excess dead skin cells from the surface of the skin, thereby revealing soft, glowing skin beneath.

Use: Take equal amounts of raw milk and honey in a bowl. Mix the ingredients well and massage for 10 minutes before washing off.

Read More

Also read : SULPHUR FOR SKIN: HERE’S HOW THIS INGREDIENT CAN BE USED TO DEAL WITH ACNE WOES

HOW TO KEEP YOUR SKIN COOL IN THE SUMMERS

SKIN COOL: Summers can be rather unforgiving on our skin. The soaring temperatures can easily make your skin angsty and cause redness and acne. This is when you need to find ways to cool your skin so it remains hydrated and is able to fight the weather change without causing any irritation in your skin. What do you do? Follow the guidelines below to embrace the right summer skin care routine.

Rely on a cucumber face pack

Cucumber is known to be a cooing agent for the skin. So if your skin has been feeling particularly irritable and sensitive, thanks to the sweltering heat, it would be a wise idea to include a cucumber pack in your summer skin care routine. Chill cucumber in the fridge and then crush it to remove the juice. Use a cotton pad to soak in the juice and then apply this mix to your face. Let it dry before washing off.

Go for a DIY face mist

Green tea is extremely beneficial when fighting summer skin woes. We suggest making your own green tea face mist to keep the heat at bay. Just boil 2 green tea bags in 1 cup water. Allow it to cool down and then add 5 drops of tea tree oil. Refrigerate this mix and then spray it on your face just as you come back from a long day.

Read More

Also Read: SULPHUR FOR SKIN: HERE’S HOW THIS INGREDIENT CAN BE USED TO DEAL WITH ACNE WOES

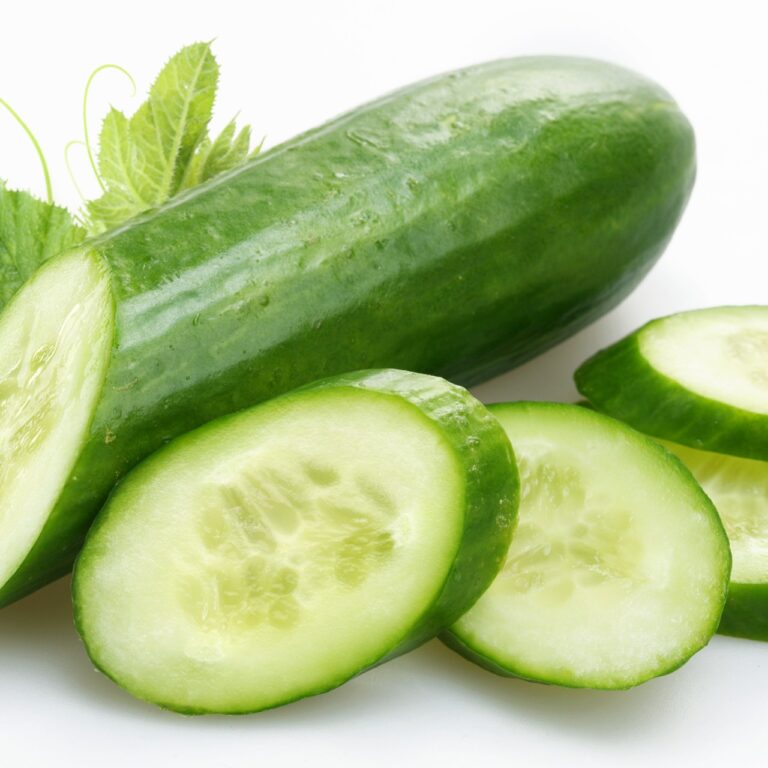
Cooling Cucumber Bath With Epsom Salts During Summer

A warm bath and a glass of wine may be one of the most relaxing things to do during cold winter days but have you ever thought of a cool bath during summer? This cooling cucumber bath with Epsom salts will give your muscles the relaxation they need, all while cooling the body down, making this the perfect summertime bath! As the Epsom salts soothe and exfoliate, the cucumber hydrates and coats the skin with vitamins. The cool water allows for the skin to tighten, shrinking pores, and also increase the metabolism.

Cooling Cucumber Bath

What you will need:

  • A bath tub 3/4 full of cool water
  • 1 cucumber cut in slices
  • 2 cups of Epsom salts
  • A handful of chopped peppermint leaves
  • 3 or 4 drops of Ylang Ylang essential oil or lavender oil.

In this soak, the peppermint leaves refresh the skin and treat any sort of discomfort caused by poison ivy, poison oak and even calms a blasting headache. The cucumber help to reduce inflammation and bring vitamins and minerals to the skin. The cold water is a therapy for your body as it refreshes the epidermis outside and organs inside the body, especially in the middle of a hot, stressful summer afternoon.

Directions:

  1. Fill up the bathtub with relatively cool water.
  2. While the tub is filling up, add the Epsom salts.
  3. Lastly, dd the fresh peppermint, essential oil, and cucumber slices.
  4. Sit, soak, and simply relax.

While in the zone, listen to some calming music, read or simply breathe and enjoy. Take this bath and use it as a time to focus on pampering yourself and releasing all the toxins in your body. After this cooling cucumber bath, you will be ready to face anything that comes your way. Read more

Also read: Remove Blackheads In Only 10 Minutes

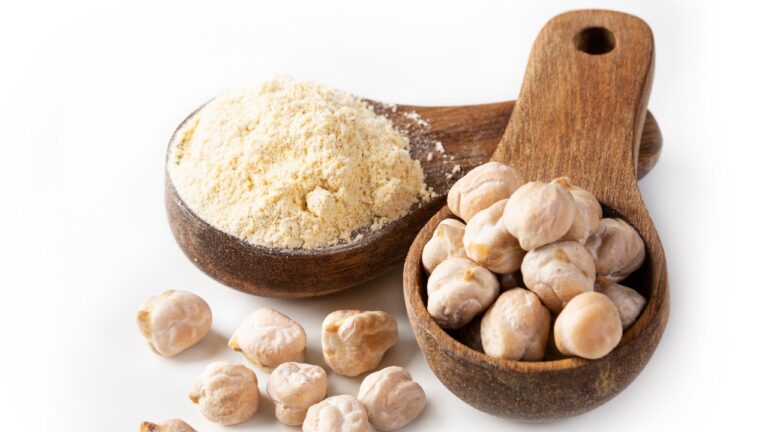
DIY gram flour remedies to combat pigmentation and get clear skin

DIY gram flour remedies to combat pigmentation and get clear skin

Usually made from flour and chickpeas, gram flour is known to be rich in fibers. Gram flour is mostly used to make fries that are a popular dish in monsoons and make for great snack food. It is also known to have essential vitamins including zinc is essential for the skin, making it a popular skincare pick as well.

Since it is easily available, it has become a go-to ingredient for skin care and is used in DIY remedies to combat common skin issues like pigmentation, dullness, acne, etc.

Gram flour and Lemon pack

For getting a glow like no other, this face pack should be your go-to. Combine two spoons of gram flour with a few drops of lemon juice and a spoon of cream and mix well to form a thick consistency.
Both lemon and cream are known for their skin-brightening properties and when combined with gram flour or gram flour, restores the original shade of the skin and can even help in de-tanning!

Gram flour and Turmeric pack

Aishwarya Sawarna Nir, the founder of Global Beauty secrets swears by gram flour for her skin. She recommends a face mask made of yogurt, turmeric, gram flour and honey.
“Yogurt has lactic acid which helps shed dead skin cells, honey moisturizes the skin, turmeric is antiseptic and gram flour is very alkalizing, together all these ingredients work to restore complete skin health. After mixing all the ingredients together, apply the paste on the face and leave it on for 10-15 minutes, then wash it off with cold water,” she recommends.

Gram flour and banana pack

Nothing makes your skin feel better than a pampering session. Sure moisturiser leaves your skin feeling fresh and plump. But lead up on some more moisture with a ripe banana and some gram flour.
Combine a ripe banana with a spoon of honey and gram flour and apply it on your face for around 15 minutes. Wash off once it has dried and pat dry. You will instantly see the difference with your fresh and spotless skin.

……Read More……

Read Also: Get the goodness of neem leaves in this easy DIY face mask you can make at the comfort of your home